Sharpen & clean
Image Upscaler
Enlarge a restored photo for reprinting, from a small scan up to 32 megapixels
4 free credits to start, enough for one Standard pass of this tool.
- 1Upload the restored photo, or chain it here from a result
- 2Choose 4, 8, 16 or 32 megapixels to suit the print size
- 3Download the enlarged file and send it to the printer
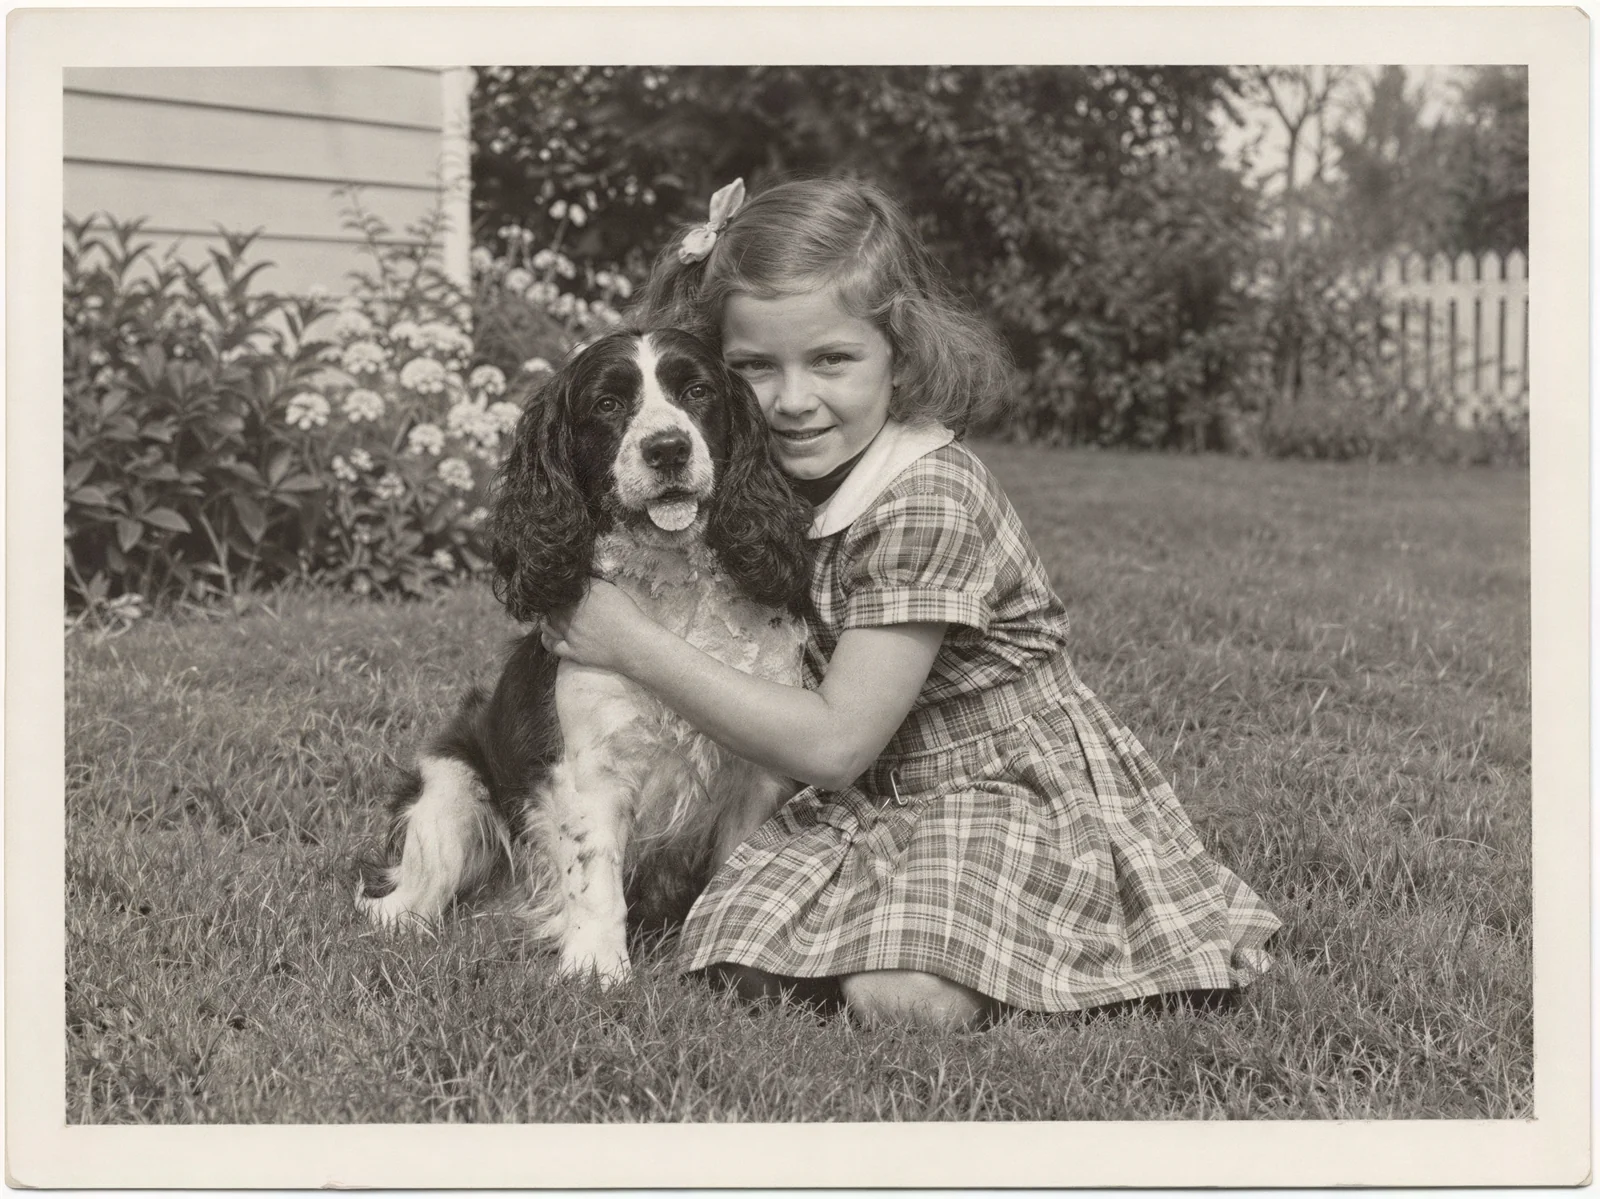
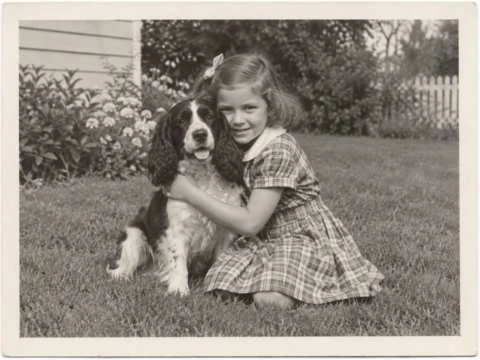
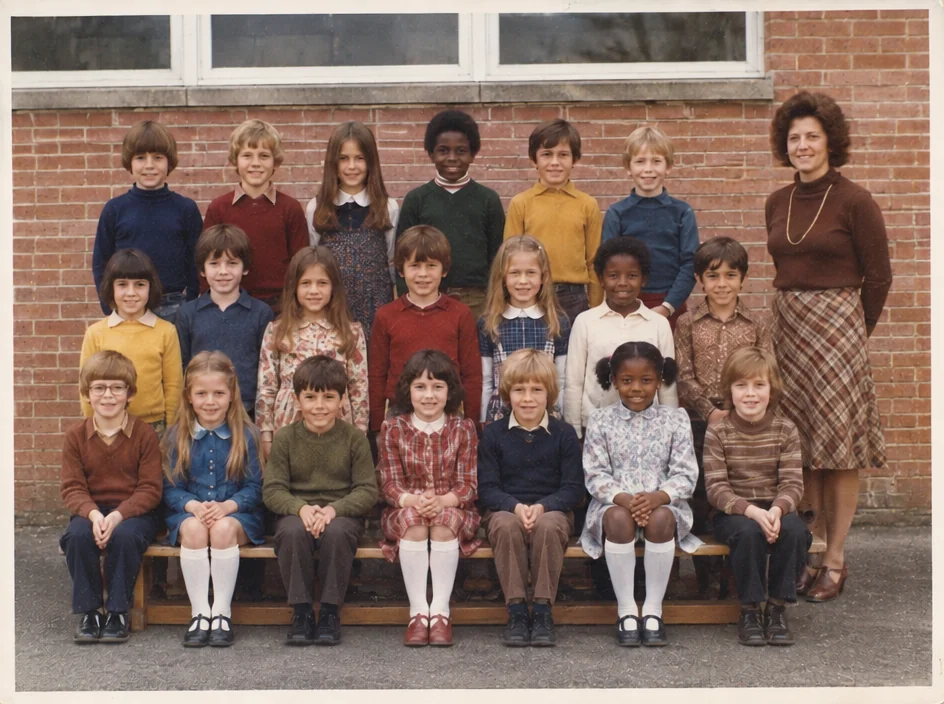
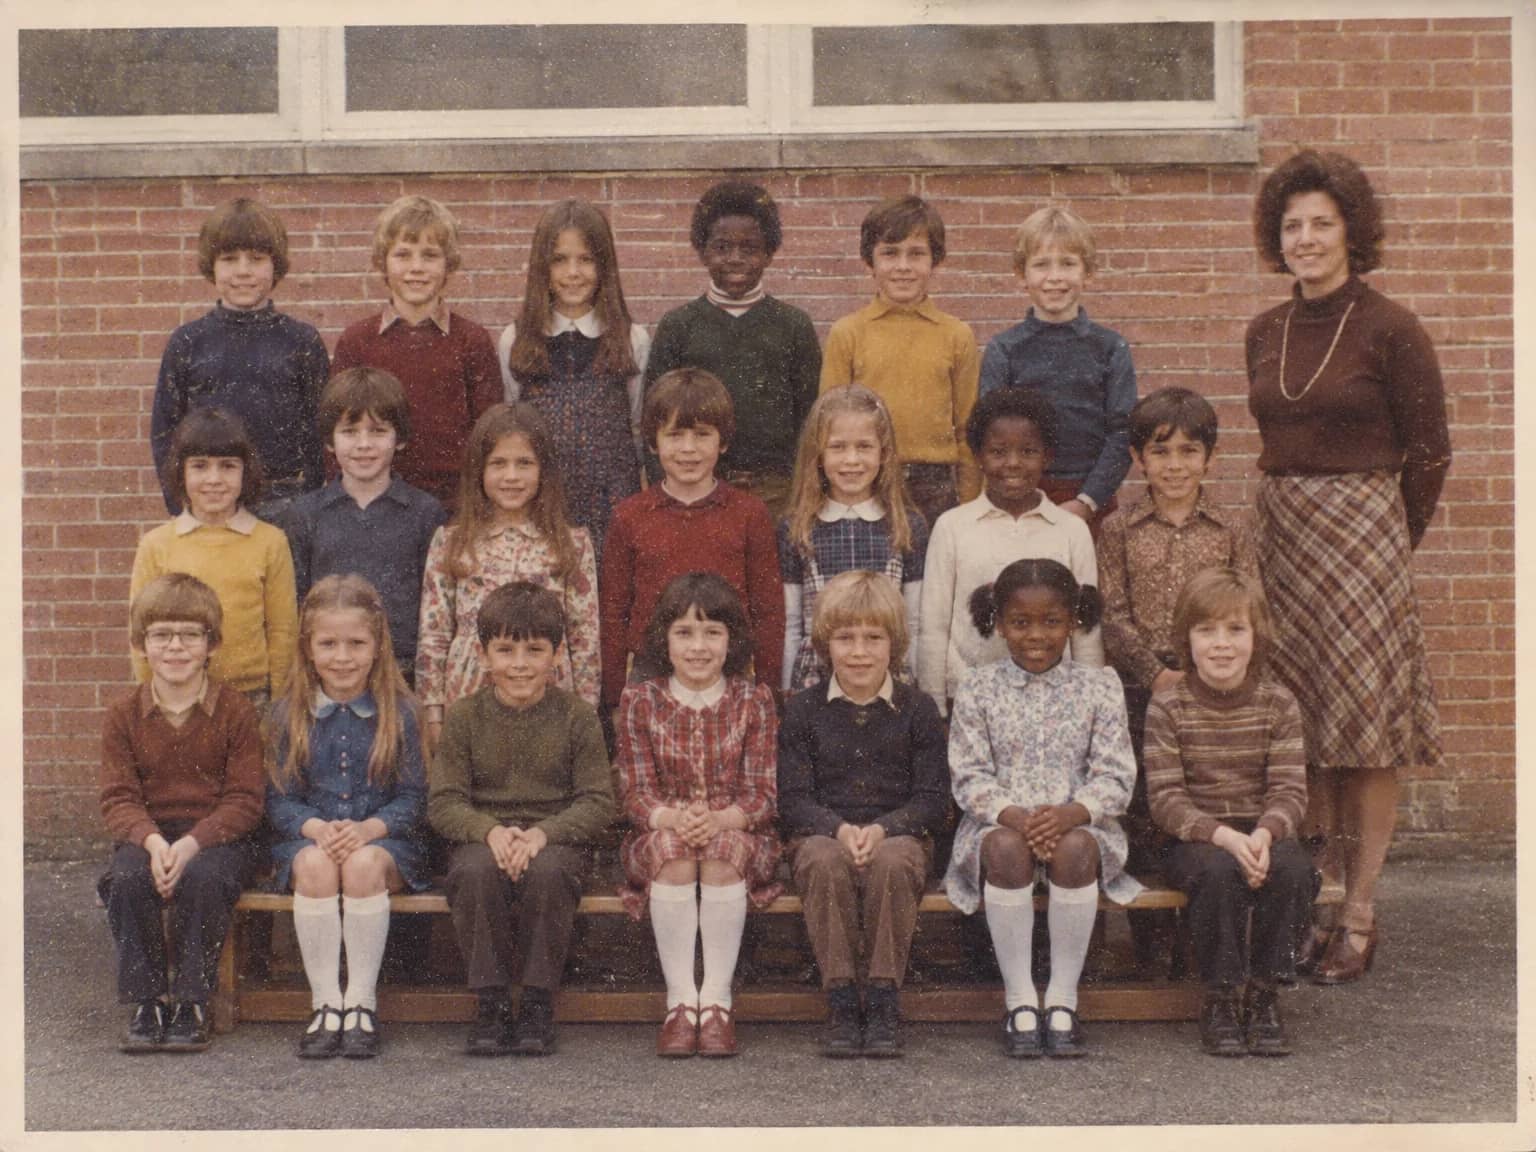
Left: the 480 px scan that went in. Right: the same photo at 4 MP from the real upscaler.
A restored photograph often needs to be bigger than the print it came from. The original is a 3 by 5 inch snapshot, and the family wants it at 11 by 14 on the living-room wall, or the whole thing at poster size for the reunion. A scan of a small print stretched to that size goes soft and blocky. The Image Upscaler enlarges the photo with a dedicated enhancement model, a separate model from the restoration renderer, built for adding pixels while keeping edges clean and texture believable. It works from whatever you give it, so the best sequence is to restore first and enlarge last. It is also the last step for anything going to a lab, since labs prefer to be given more pixels than they need rather than fewer.
There are four sizes. 4 megapixels, for 3 credits, is ample for a 5 by 7 print or a sharp screen image. 8 megapixels, for 5 credits, covers 8 by 10 and 8 by 12 prints. 16 megapixels, for 10 credits, is comfortable for 16 by 20 at a good lab and for large framed portraits. 32 megapixels, for 20 credits, is for posters, canvas wraps and anything that will be seen up close at a large size. The output keeps the shape of the upload; only the size changes. Faces, clothing and everything else in the frame stay as they were, since enlargement adds resolution rather than content. The step between tiers is a doubling of pixels, so 8 megapixels is a print roughly one and a half times the width of 4 megapixels, not twice.
Enlargement magnifies whatever is in the file, which is why order matters. Grain becomes larger grain, a scratch becomes a wider scratch, and JPEG blocks become visible squares. Run the repairs, the noise removal and the sharpening first, and then bring the clean result here; the Studio offers that as a chain after any result. Results come back in seconds. Ask your printer what pixel size they want for the final print, and pick the tier at or above it. An upscaled file is large, tens of megabytes at the top tier, so give it a moment to download and send it to the printer as it is rather than through a messaging app, which will compress it back down.
Credits per pass
| Tier | Credits | Good for |
|---|---|---|
| 4 MP | 3 | The print at screen size, quick repairs |
| 8 MP | 5 | More of the scan is sent, finer faces and texture |
| 16 MP | 10 | The full scan, every readable detail kept for print |
| 32 MP | 20 | The full scan, every readable detail kept for print |
What you can tell it
- Photo to enlarge
- Result · Same ratio as the original
In the Studio
- Pass the result into any other tool without uploading again
- Standard, Pro and Max tiers, with the cost shown before you run
- Every restoration kept in your library beside its original
- Upscale to 32 MP for framing, or make a short moving version
About this tool
Often used next
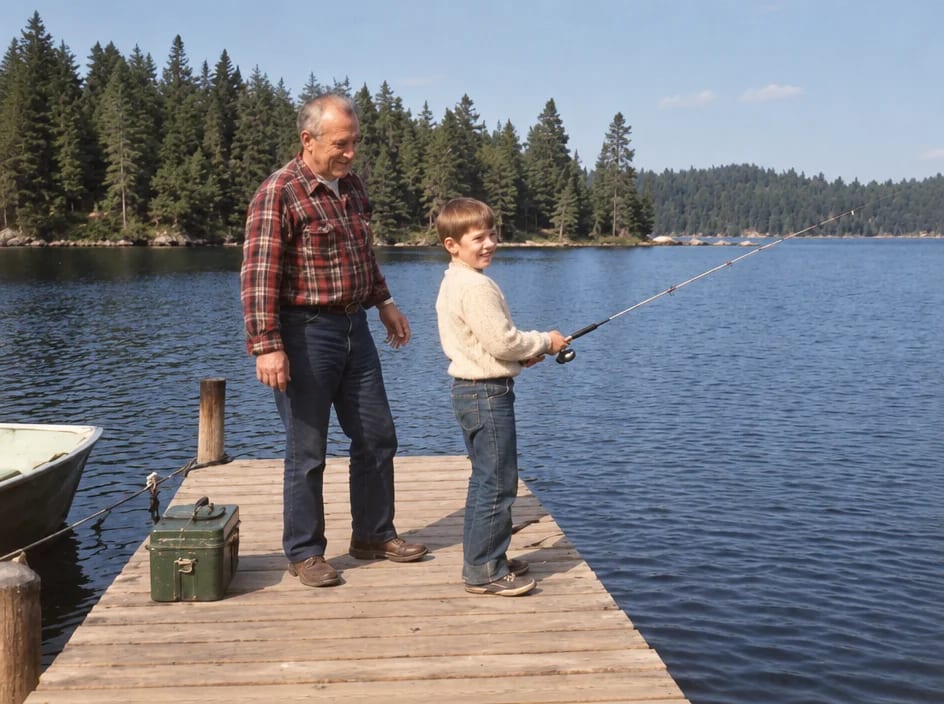
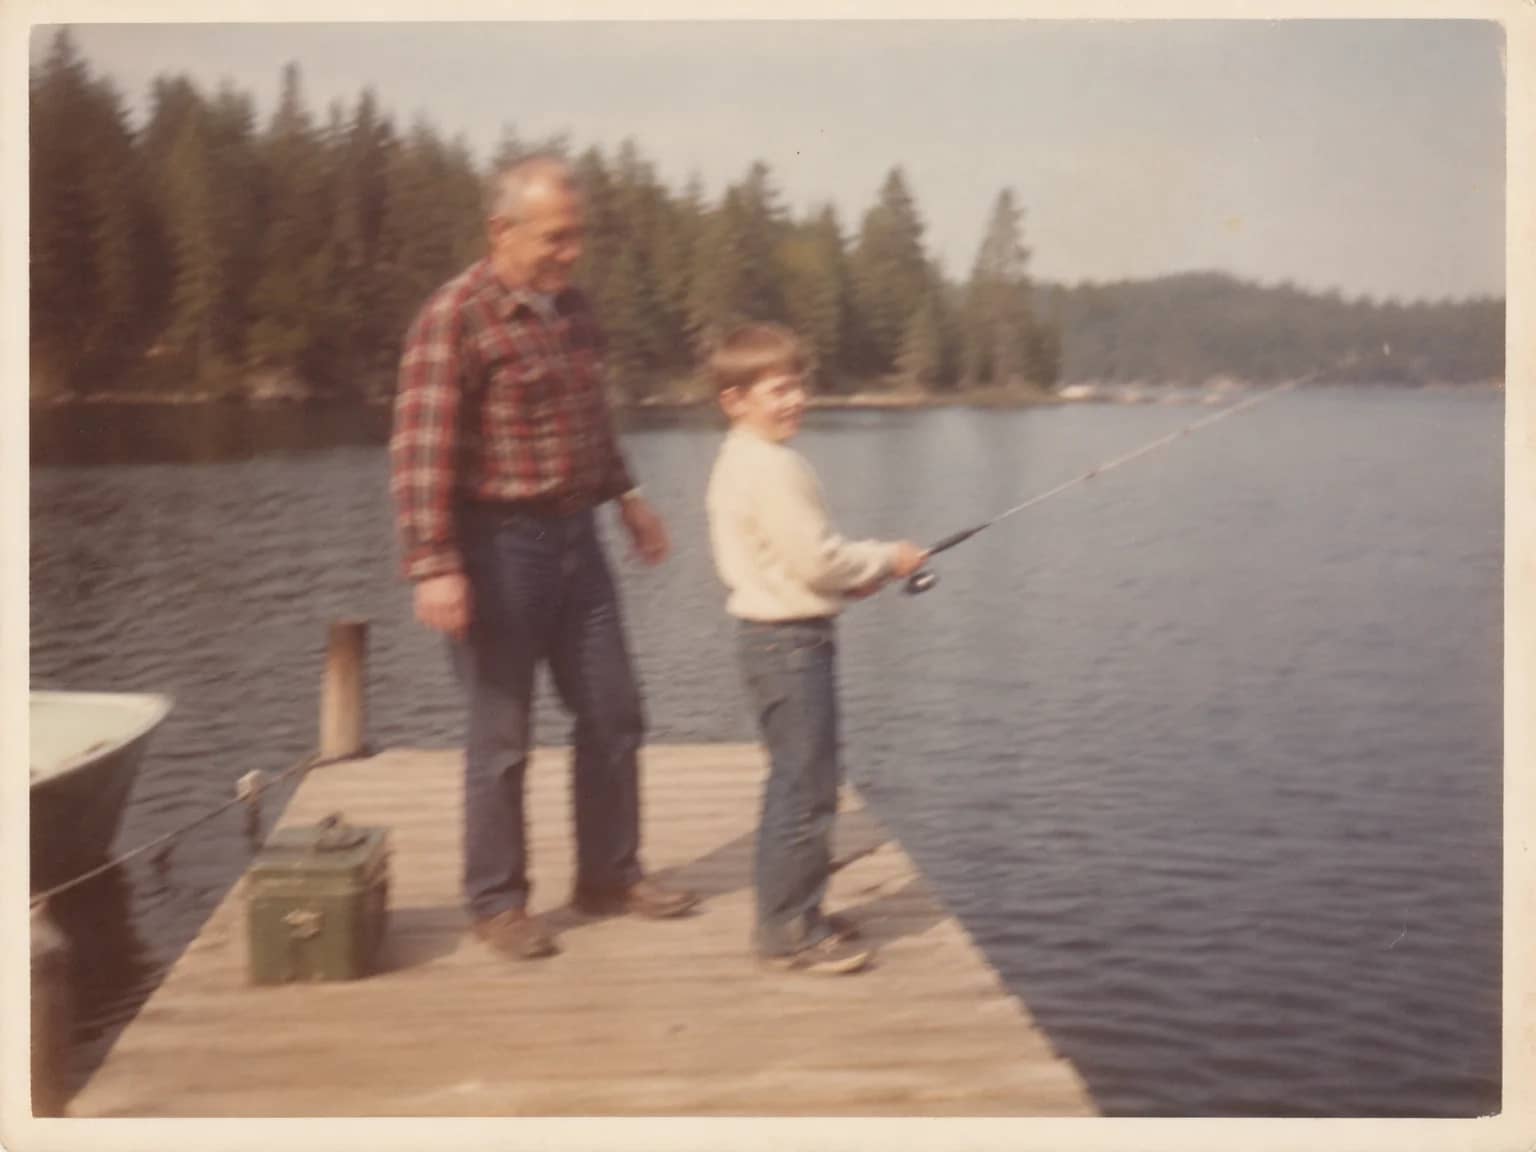
Unblur Old Photos
Recover crisp edges and texture from soft, shaken or out-of-focus prints
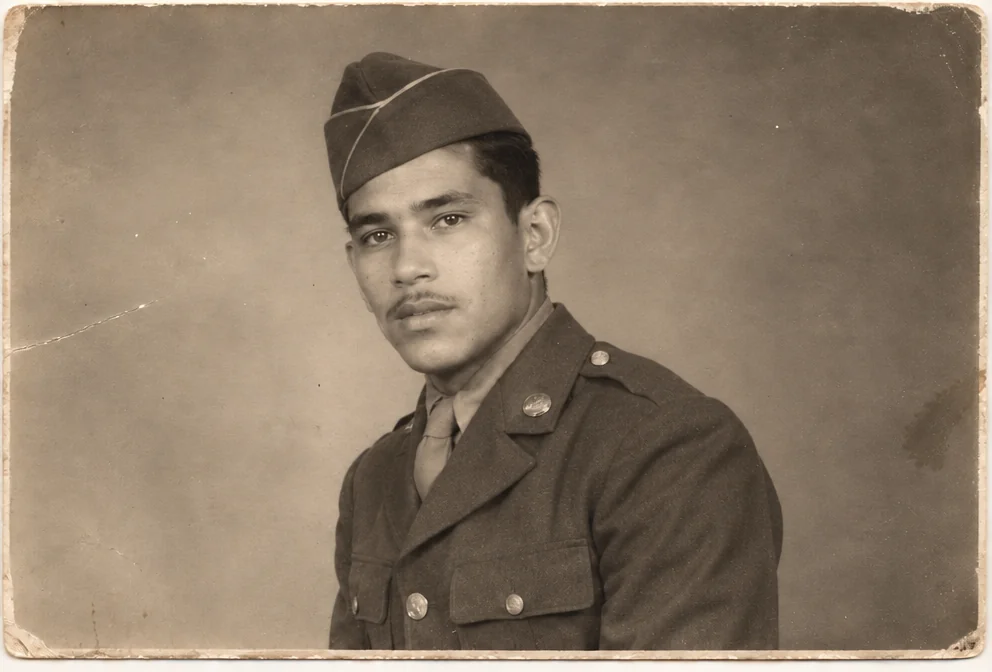
Grain & Noise Remover
Quiet heavy grain, sensor noise, JPEG blocks and halftone dots, keep the texture
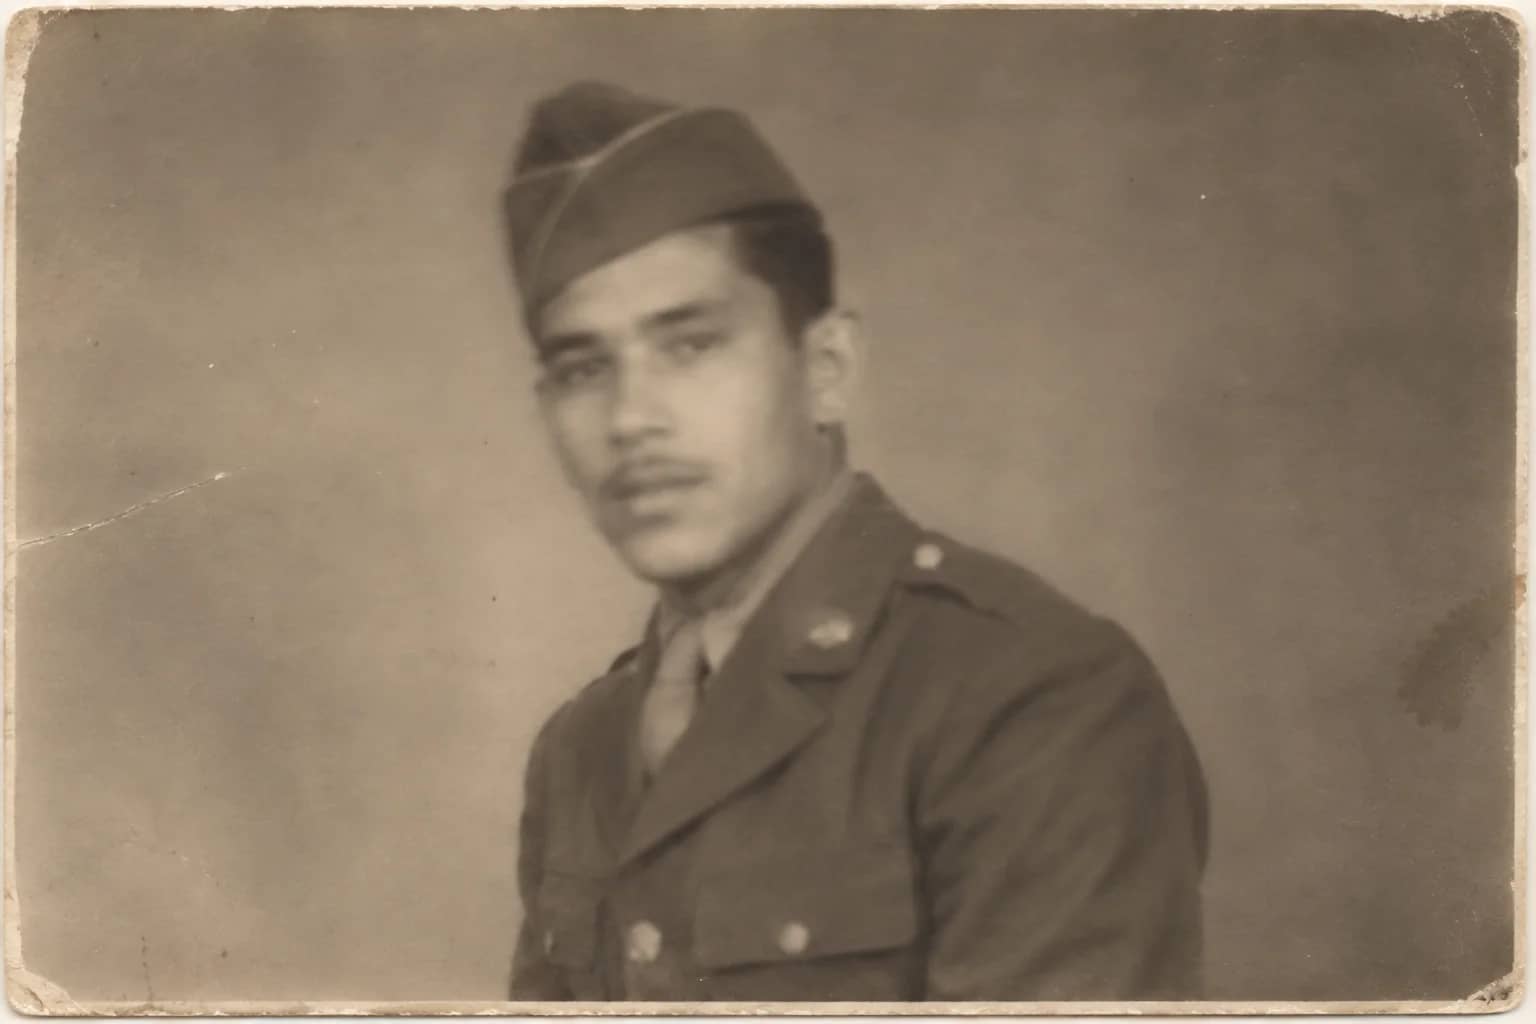
Face Restoration
Recover eyes, skin and hair in soft or tiny faces while keeping the person
Memorial Portrait
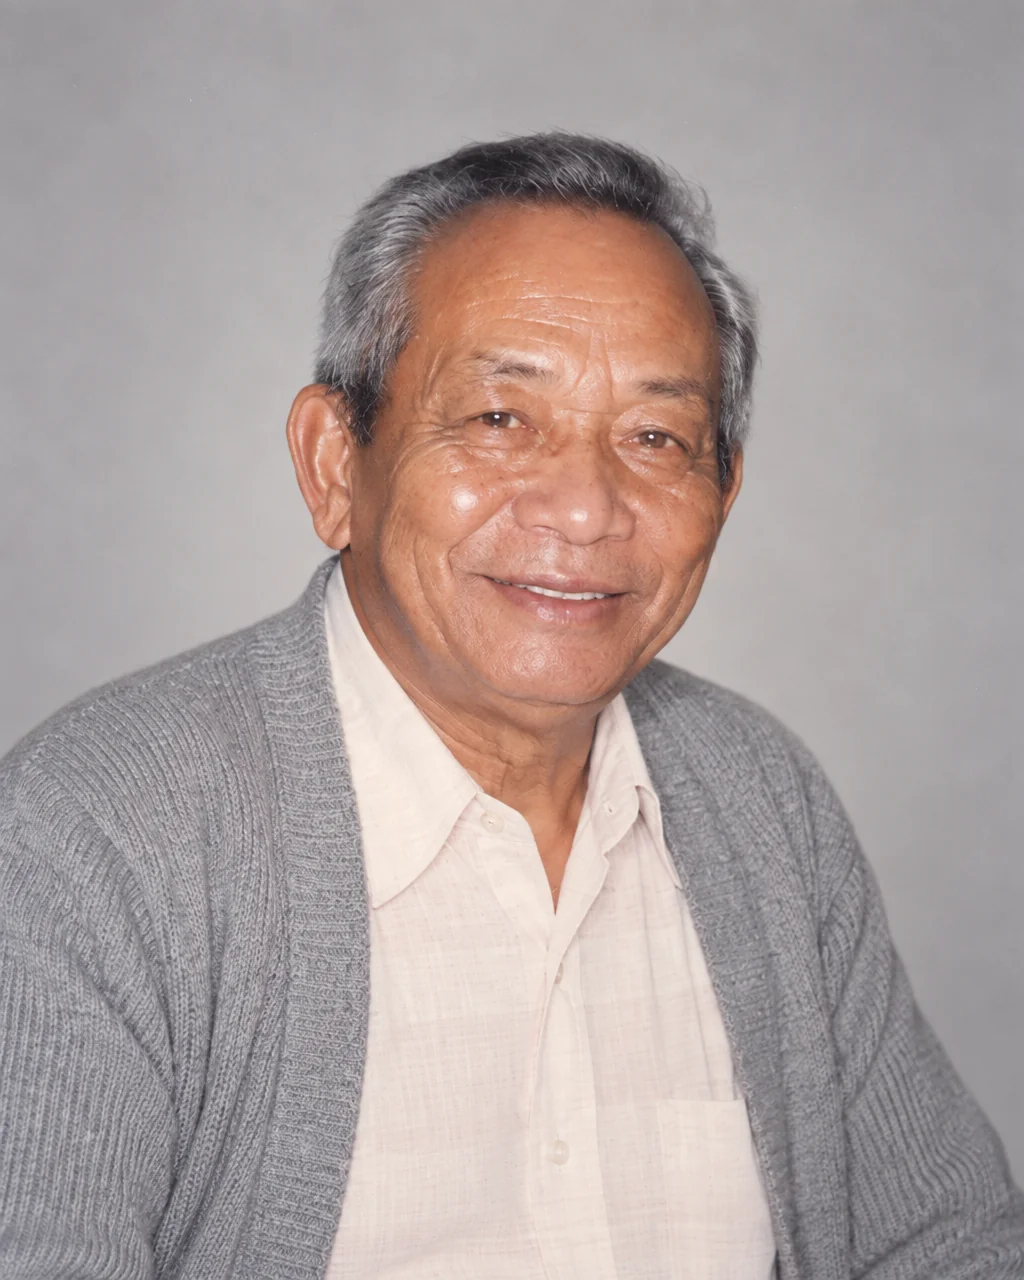
A gentle, restored head-and-shoulders portrait for a service, card or frame