Sharpen & clean
Grain & Noise Remover
Quiet heavy grain, sensor noise, JPEG blocks and halftone dots, keep the texture
4 free credits to start, enough for one Standard pass of this tool.
- 1Upload the grainy, noisy or over-compressed photo
- 2Choose the kind of noise, or leave it on Everything
- 3Download the cleaned photo, then sharpen or enlarge it if you like
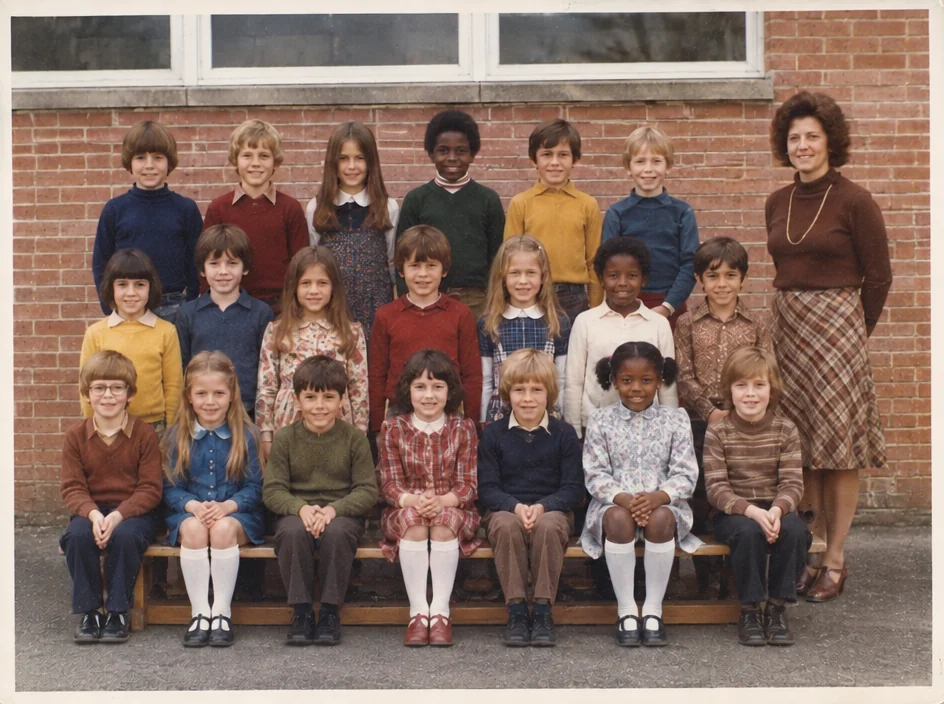
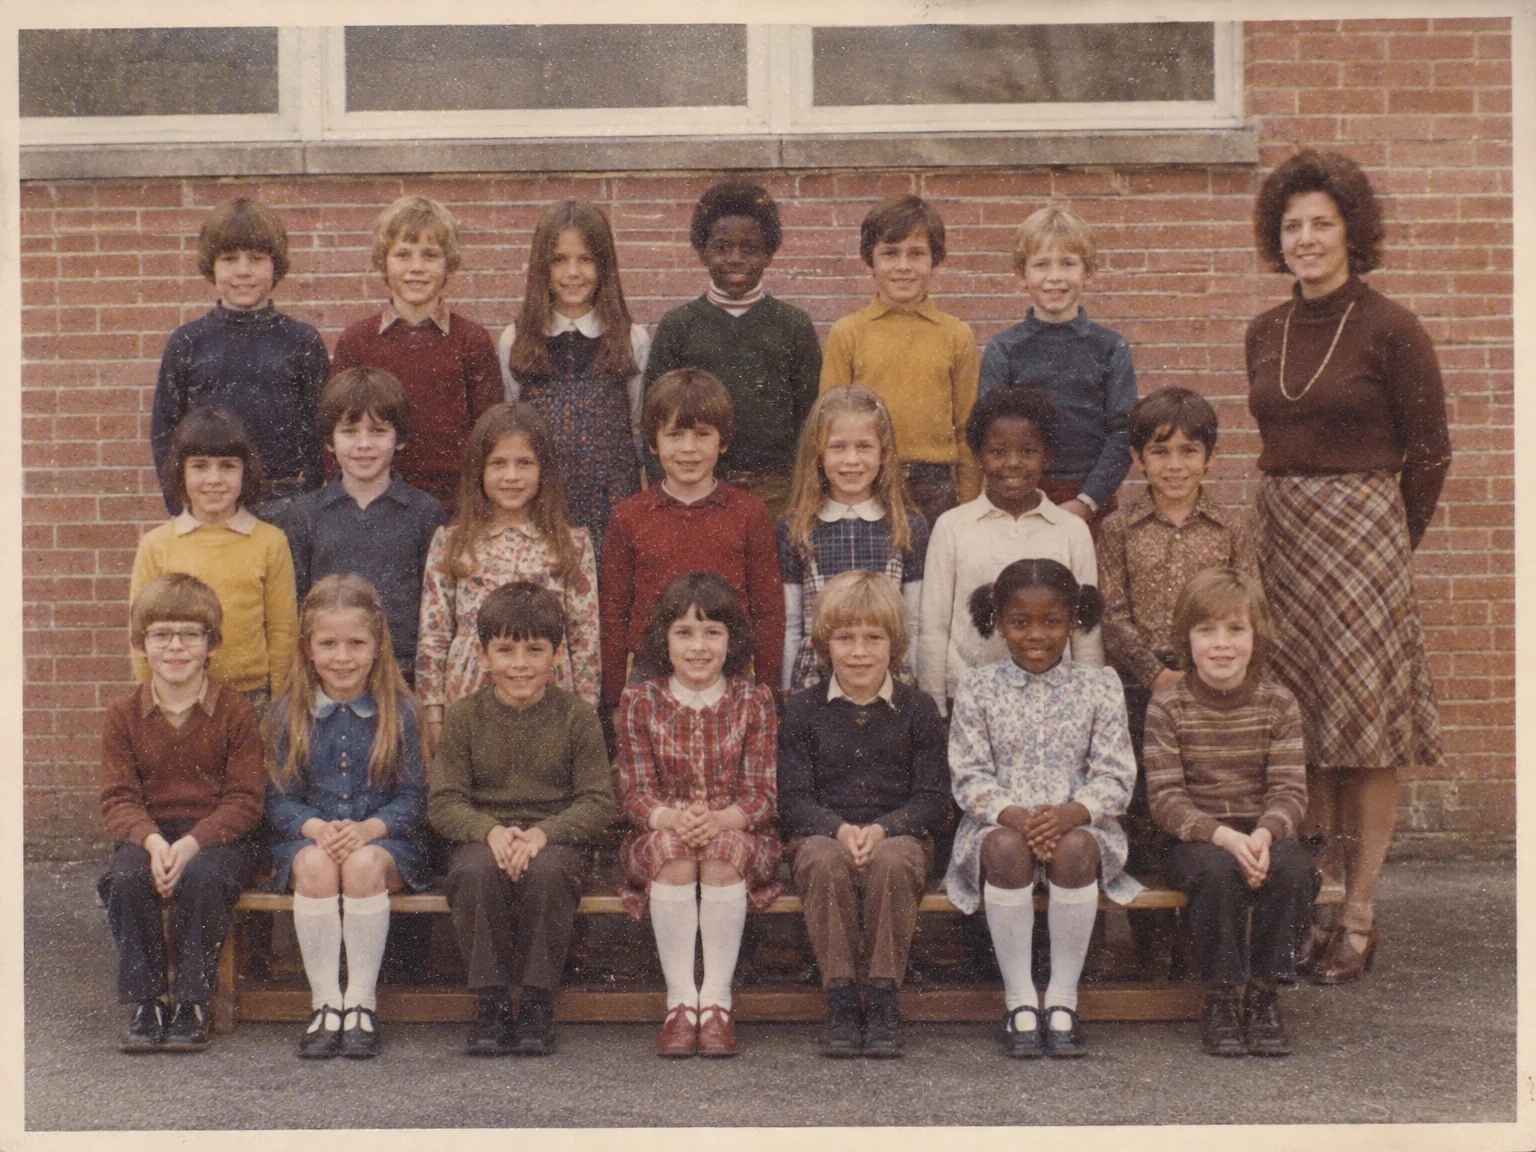
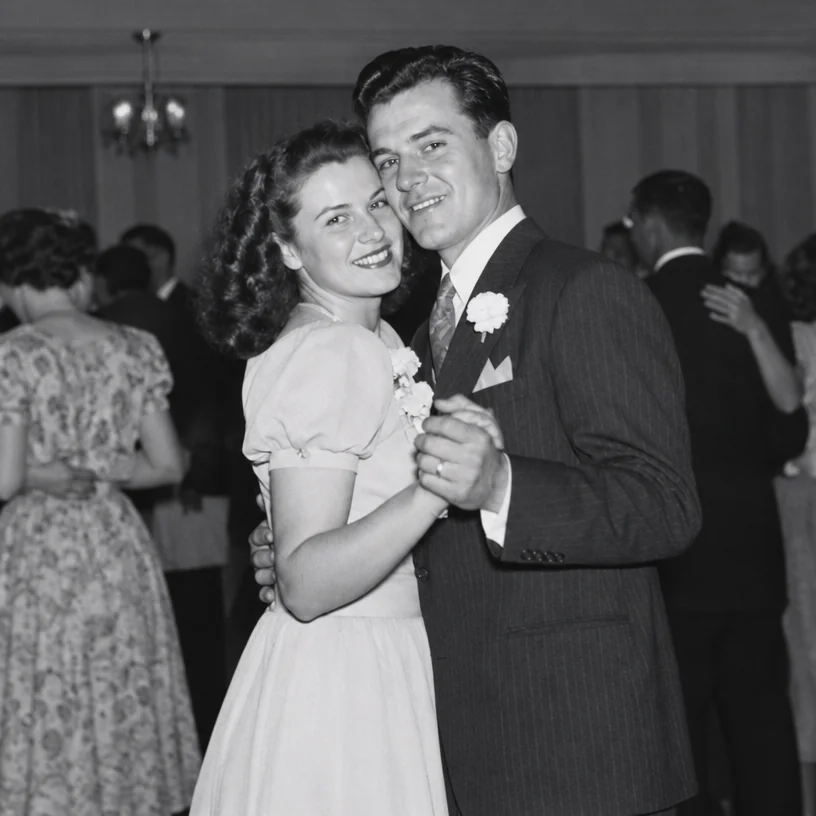
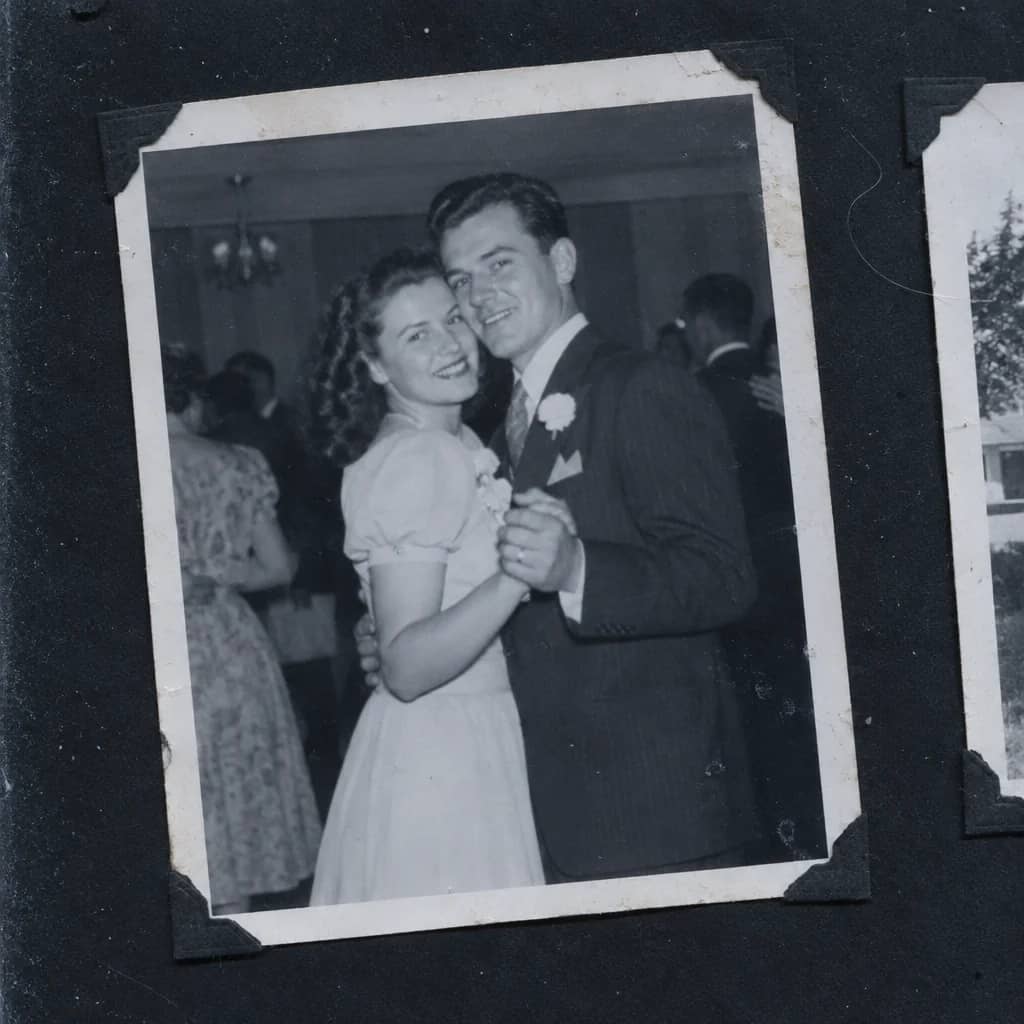
Restored by this tool from the original. Drag the handle to compare before and after.
A little grain is part of what makes a film photograph look like one, and this tool is not trying to remove it. What it removes is the noise that gets in the way: the coarse, clumpy grain of a fast film pushed in poor light, the color speckle of an early digital camera, the blocky squares and ringing of a photo that was saved as a small JPEG too many times, and the regular dot pattern of a picture cut from a newspaper. The instructions ask the AI to keep real texture and edges, and to leave a light, natural grain behind, so the result does not take on the smeared, plastic look that heavy noise reduction usually produces.
The Noise type select tells the AI what it is dealing with. Film grain is for the heavy, organic clumping of high-speed film and old enlargements. Digital noise is for the colored speckle of early digital cameras and phone photos taken indoors. JPEG artifacts is for the blockiness and halos around edges that come from strong compression, common in photos that have been emailed, posted and re-saved for twenty years. Halftone dots is for the screen pattern in printed reproductions; for a whole newspaper or yearbook page the dedicated Newspaper & Yearbook tool goes further, since it also handles the paper. Everything asks the AI to look for all four at once. The narrower the choice, the less the AI touches, so start narrow when the photo is only mildly affected.
Noise removal is usually the first step in a chain, not the last. Sharpening or enlarging a noisy photo makes the noise larger and crisper, so clean it here, then sharpen, then upscale. Results follow the shape of your upload and come back in seconds. Upload the original file rather than a screenshot of it, since screenshots add a fresh layer of compression to whatever was already there. On a scan of a negative, where grain is often coarser than on the print, this tool is the one to run first, before any correction of exposure or color, so the later passes are not working around the speckle. Keep the raw scan as well; noise is easier to remove than to put back.
Credits per pass
| Tier | Credits | Good for |
|---|---|---|
| Standard | 4 | The print at screen size, quick repairs |
| Pro | 12 | More of the scan is sent, finer faces and texture |
| Max | 44 | The full scan, every readable detail kept for print |
What you can tell it
- Grainy or noisy photo
- Noise typeEverythingFilm grainDigital noiseJPEG artifactsHalftone dots
- Result · Same ratio as the original
In the Studio
- Pass the result into any other tool without uploading again
- Standard, Pro and Max tiers, with the cost shown before you run
- Every restoration kept in your library beside its original
- Upscale to 32 MP for framing, or make a short moving version
About this tool
Often used next
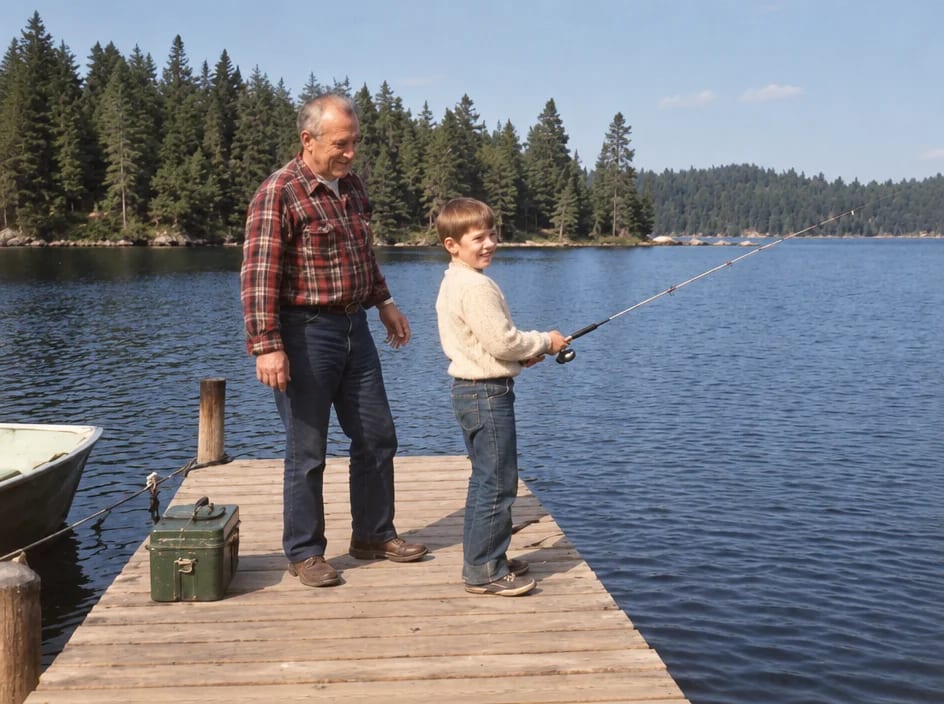
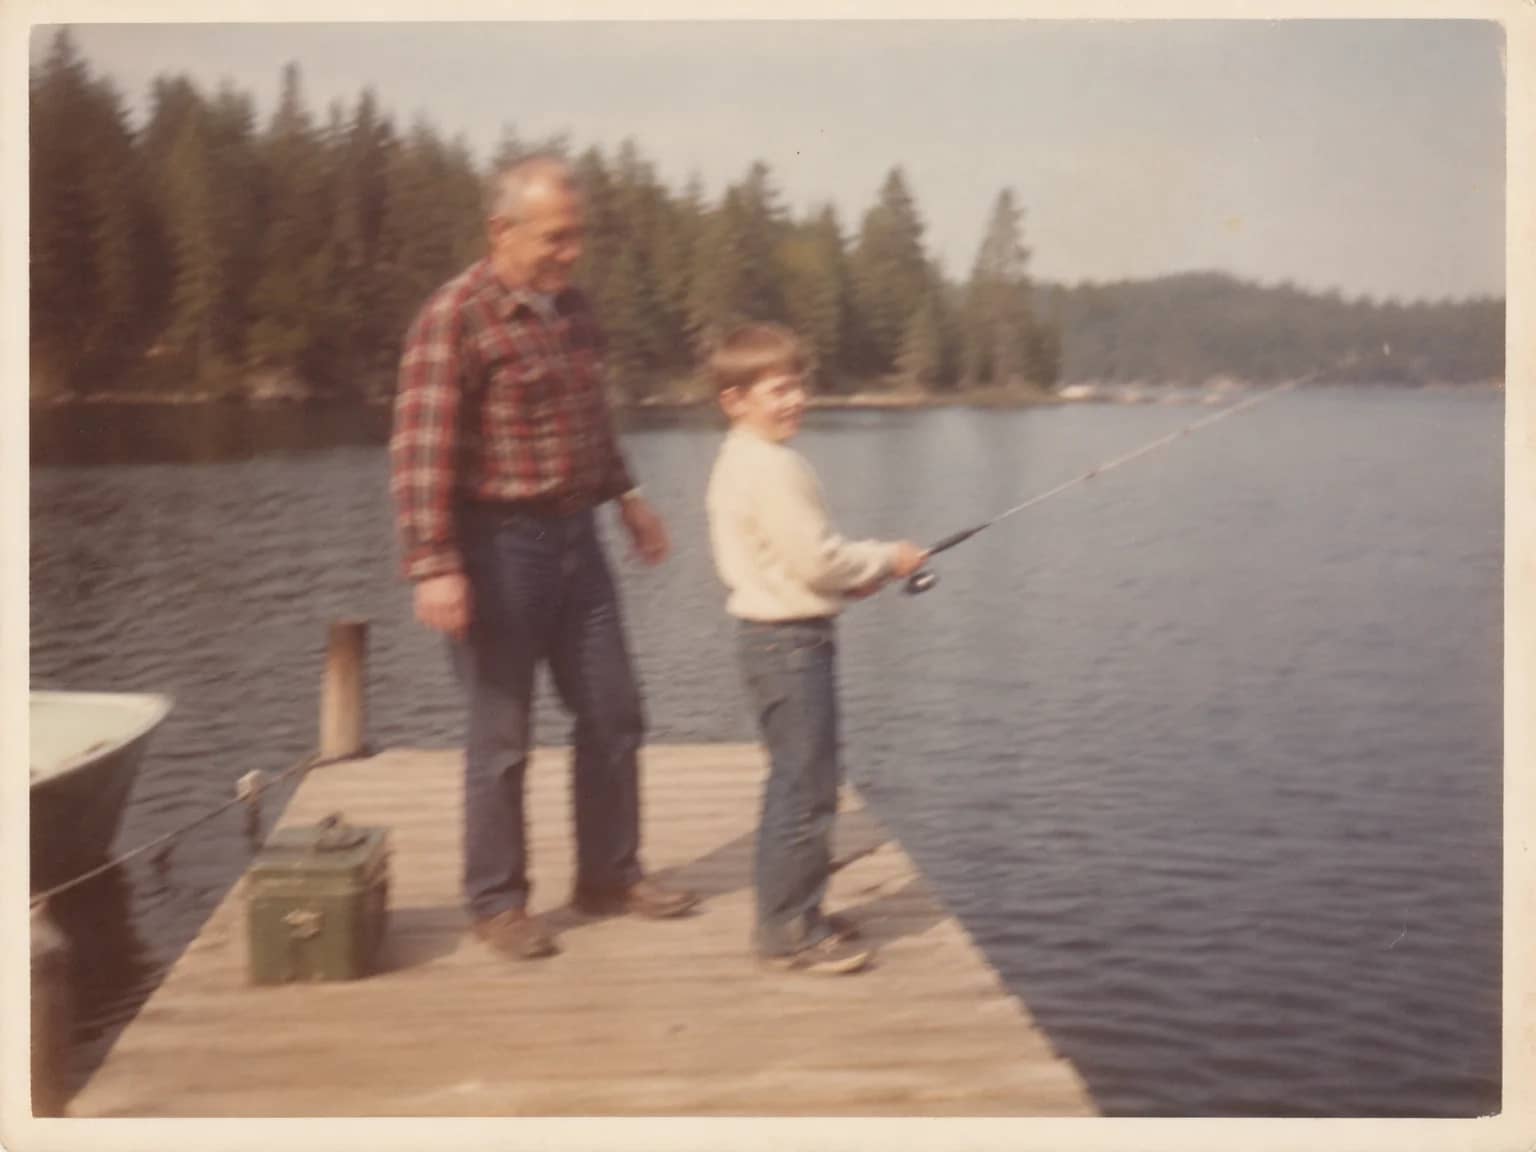
Unblur Old Photos
Recover crisp edges and texture from soft, shaken or out-of-focus prints
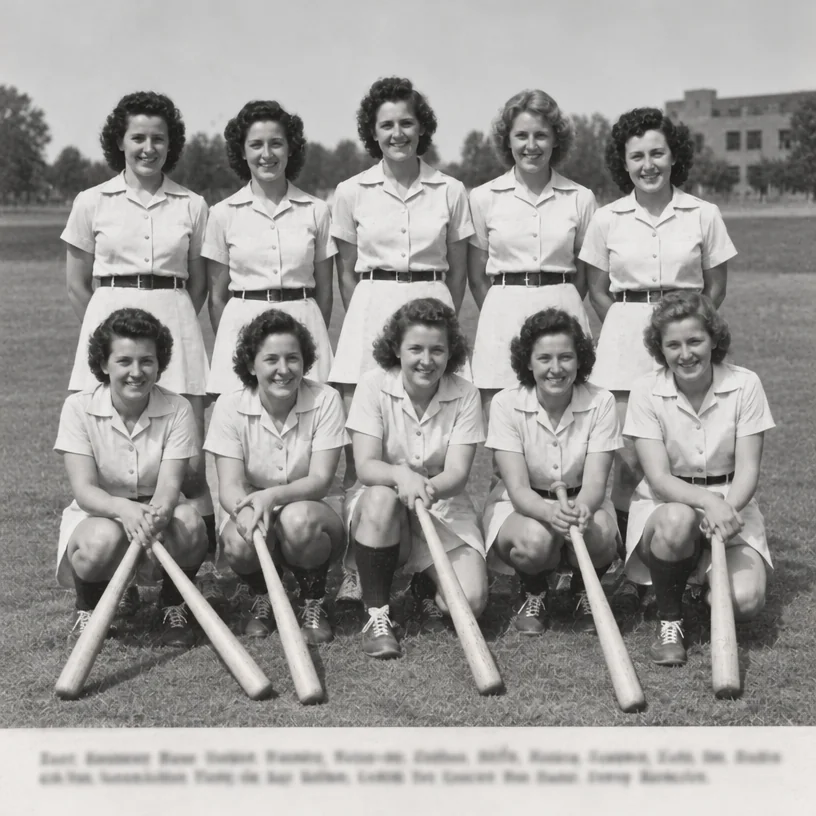
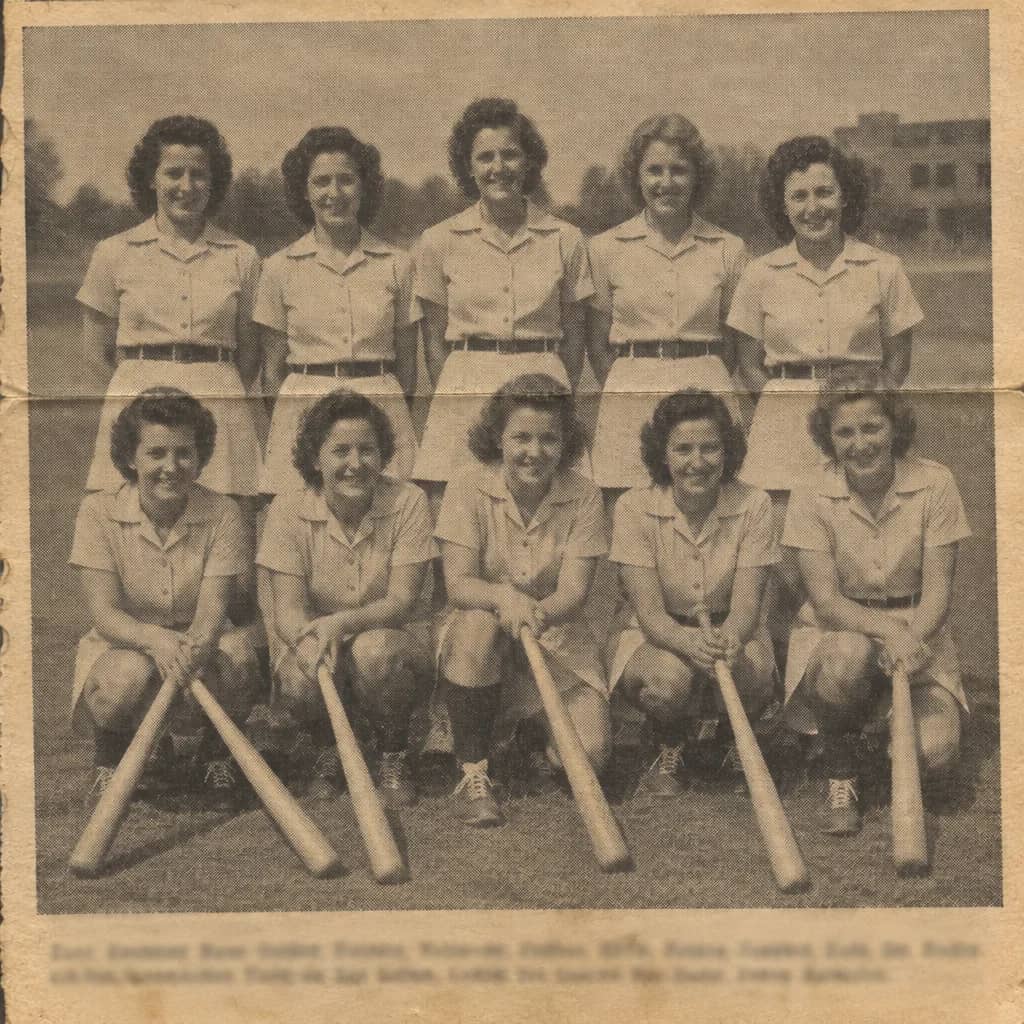
Newspaper & Yearbook Photo Restoration
Turn a halftone clipping or yearbook page back into a smooth photograph
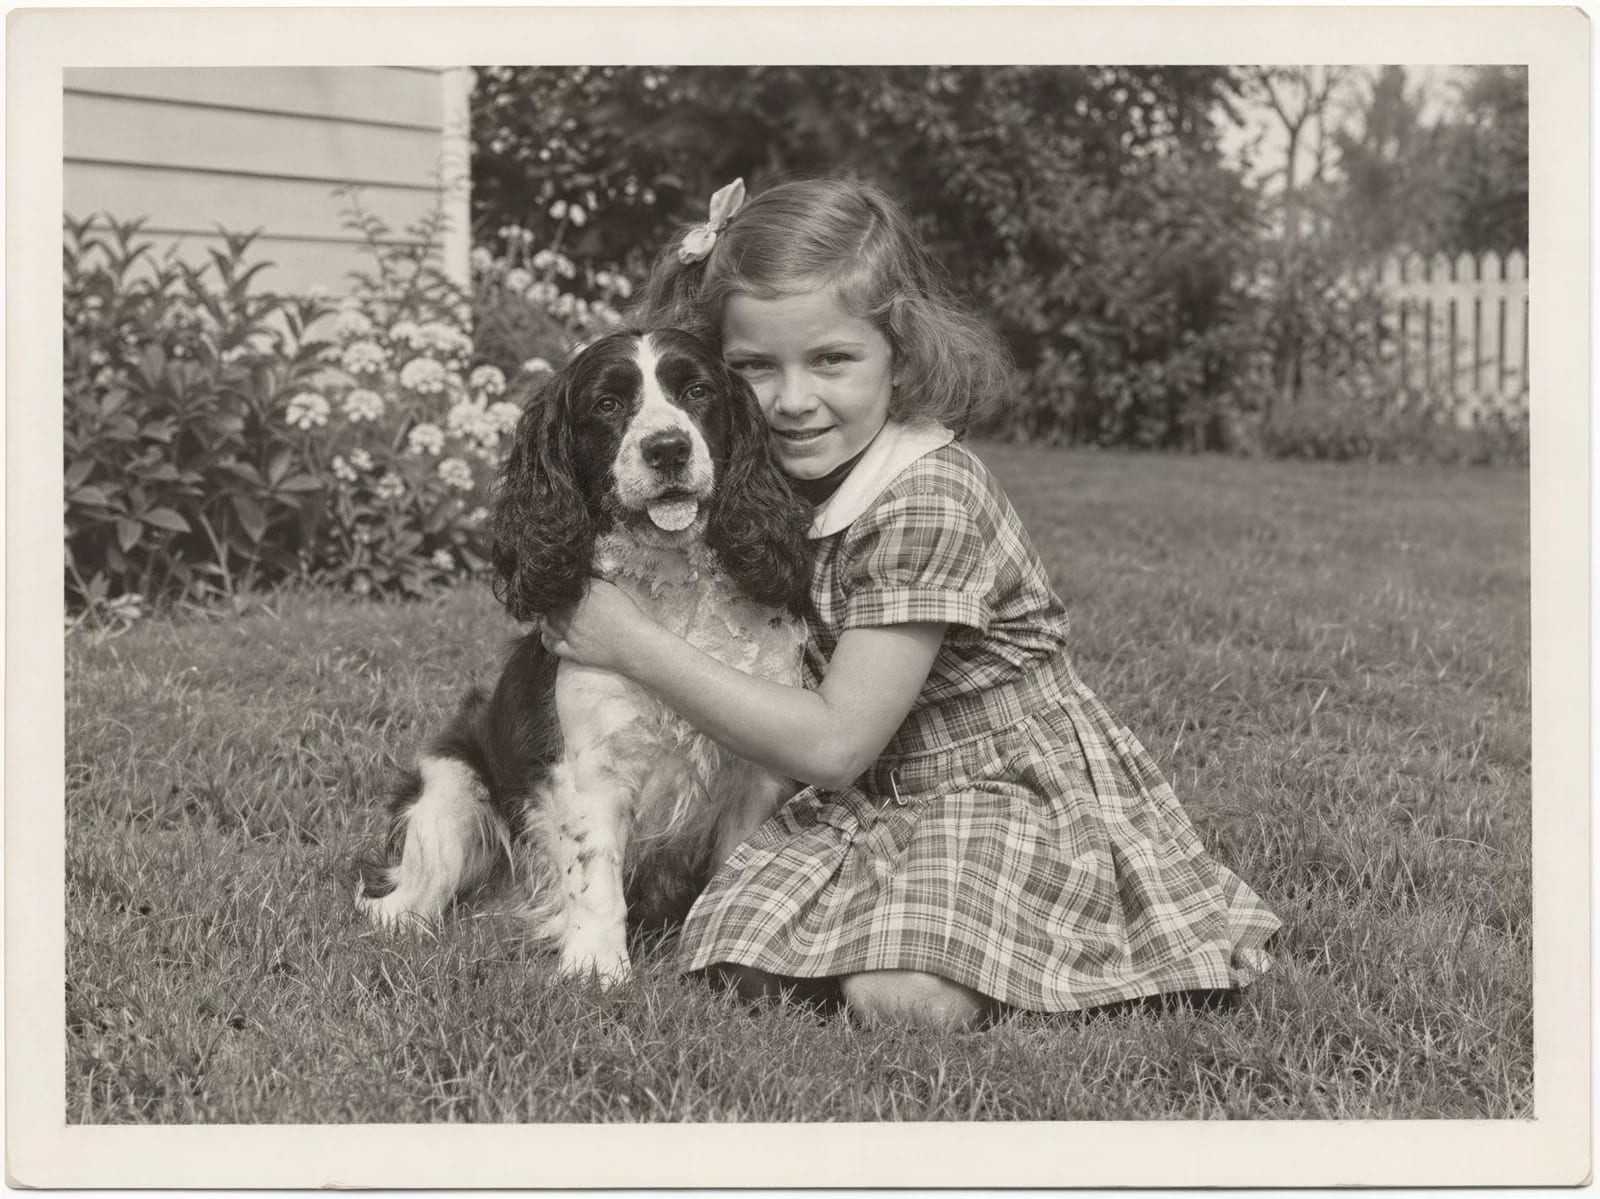
Image Upscaler
Enlarge a restored photo for reprinting, from a small scan up to 32 megapixels
Scan Cleanup
Crop, straighten and de-dust a flatbed scan and remove the scanner's cast