Restore
Photo Restoration
One pass that repairs damage, lifts fading and sharpens faces in an old photo
4 free credits to start, enough for one Standard pass of this tool.
- 1Upload a scan or a clear phone photo of the print
- 2Set the damage level and color choice, and add a note if something needs attention
- 3Download the restored photo or chain it into another tool
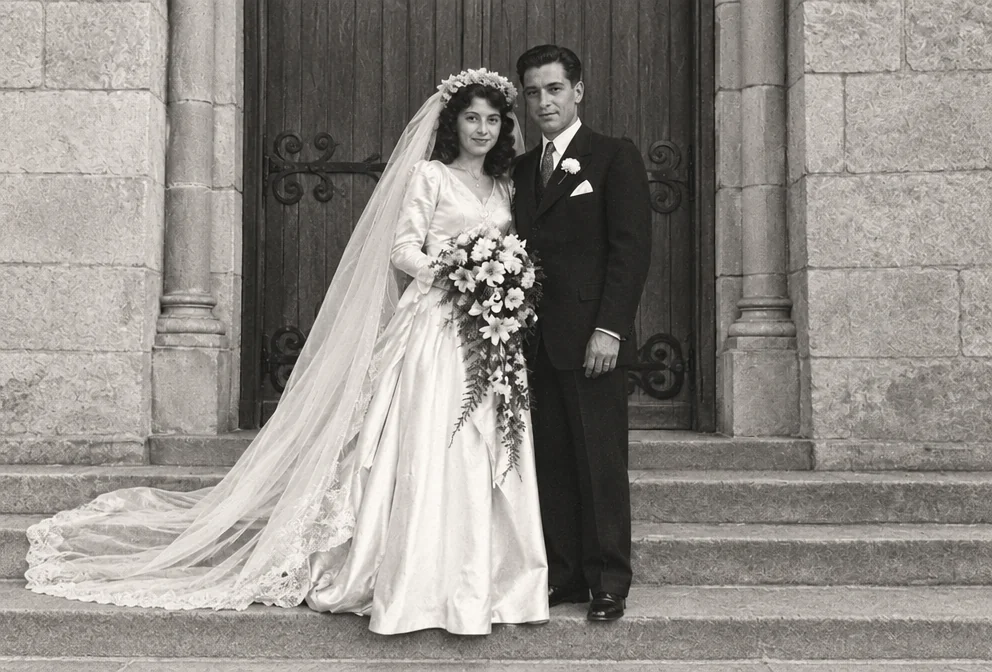
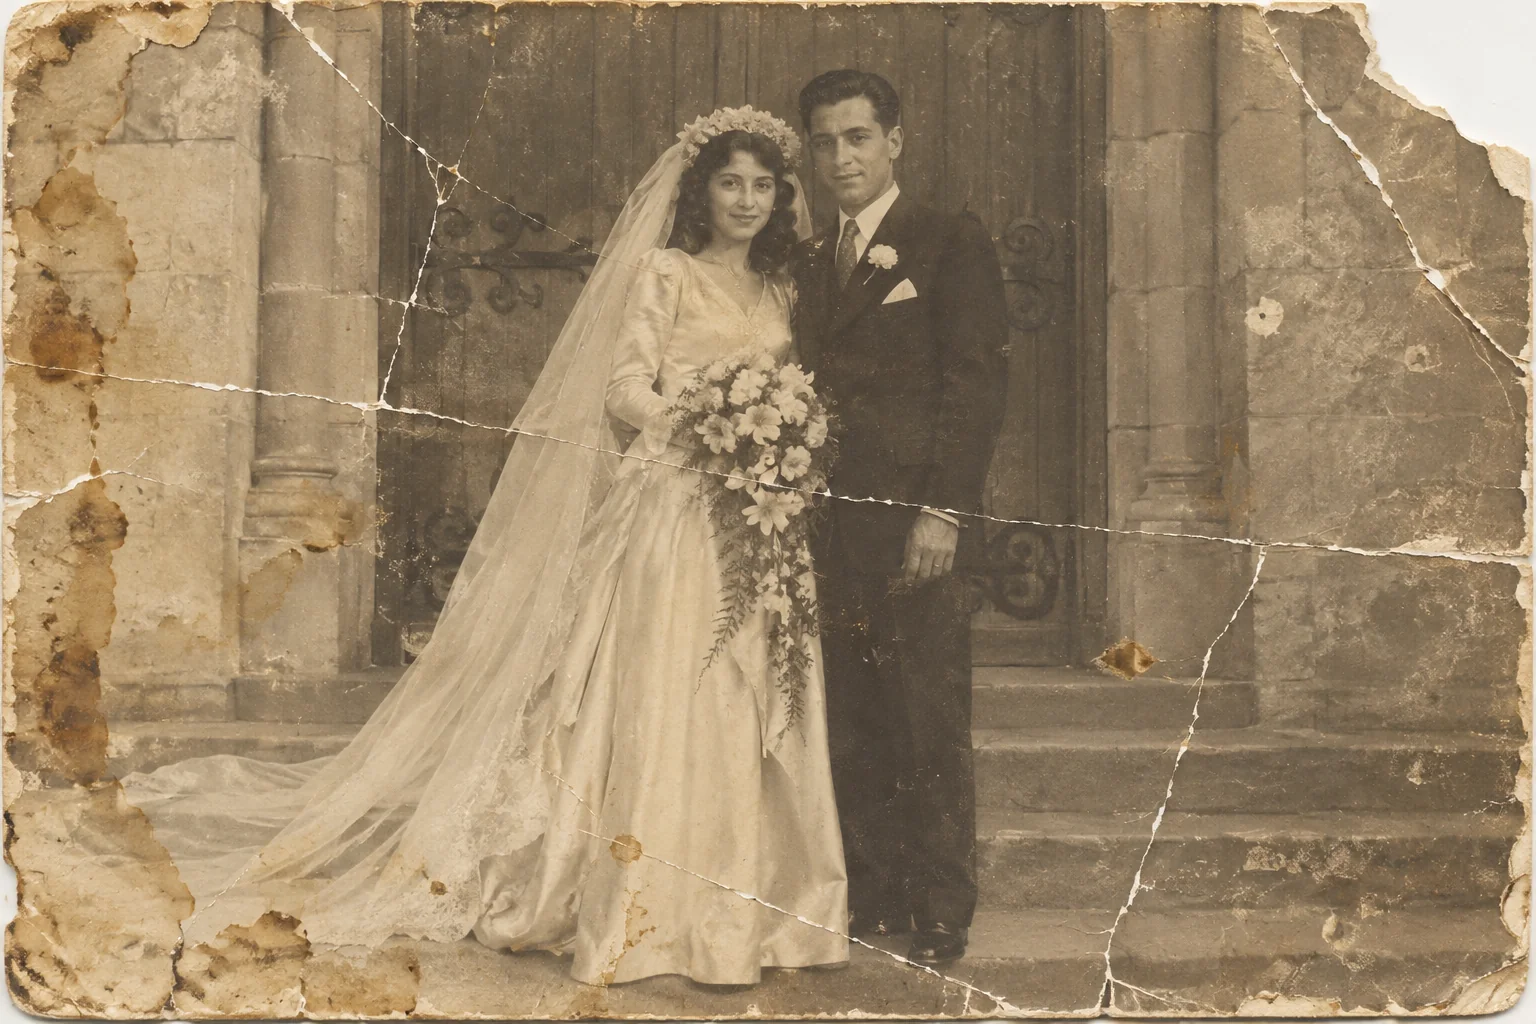
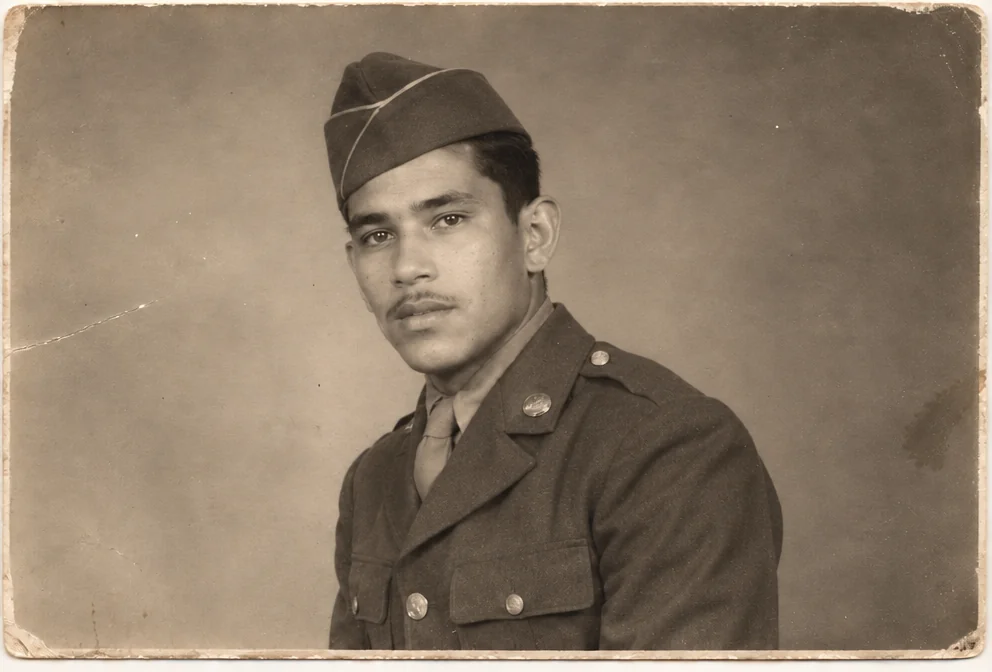
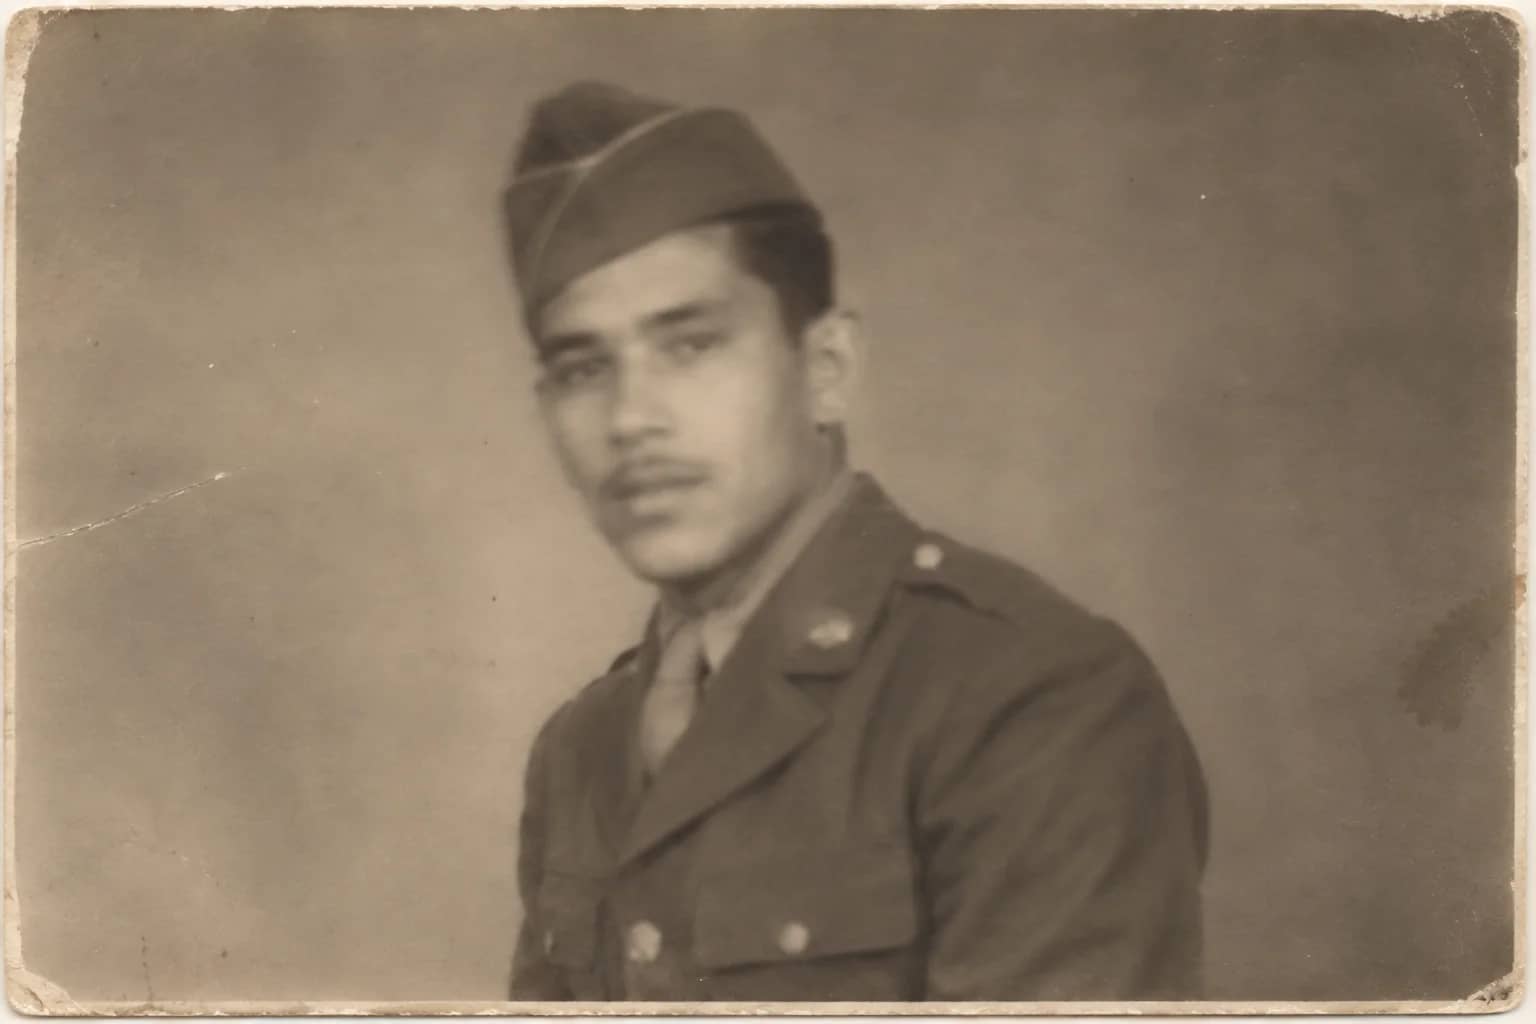
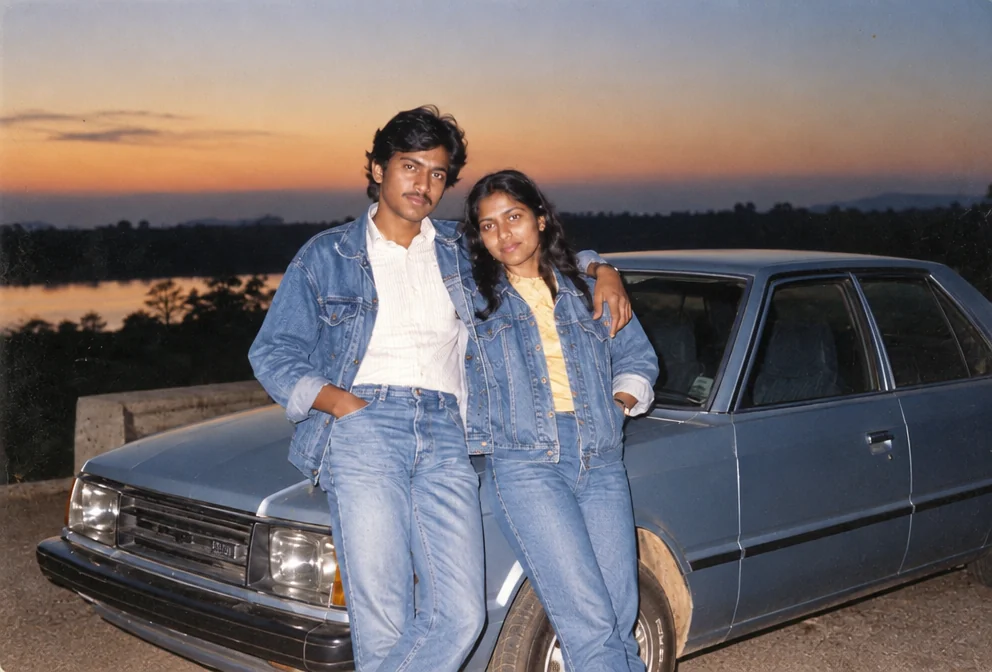
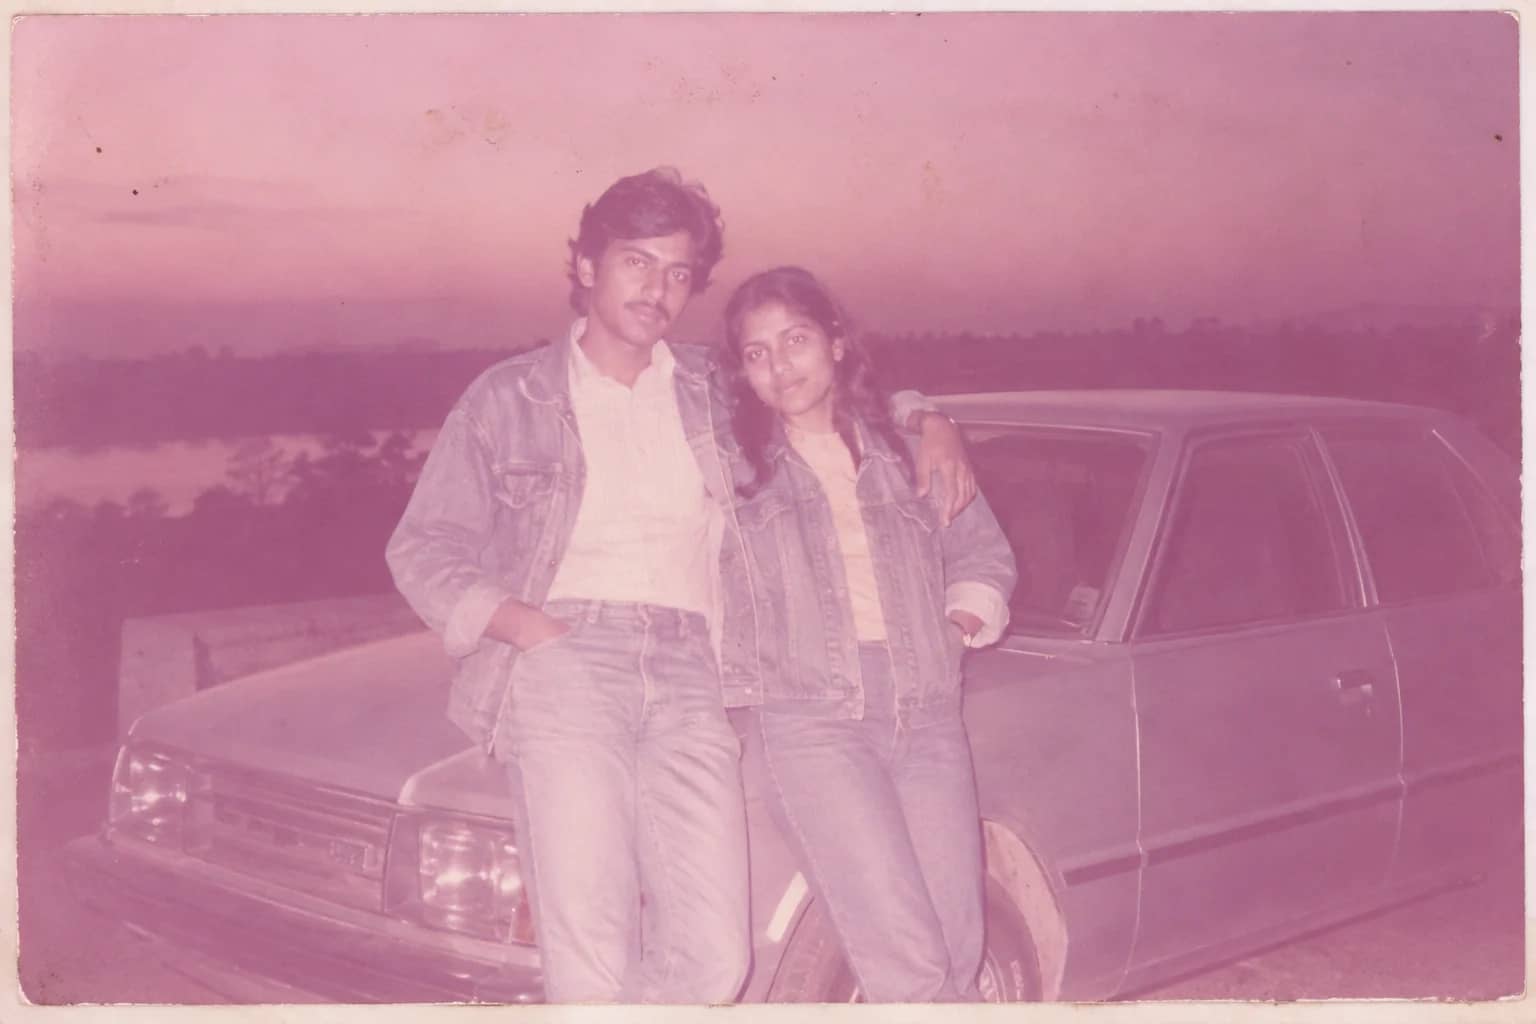
Restored by this tool from the original. Drag the handle to compare before and after.
Most prints that come out of a shoebox have more than one thing wrong with them. A crease from the fold, a scatter of dust specks, a general yellowing, and a softness in the faces that was probably there from the day it was printed. Photo Restoration is the tool for that ordinary, mixed case. It takes a scan or a phone photo of the print and works through everything at once: closing scratches and tears, clearing spots and stains, bringing contrast and tonality back, neutralizing the color drift, and sharpening the faces and the fine detail. The result keeps the framing, the background and everyone in it as they were photographed. The aim is a print that looks well kept, not one that looks retouched.
The Damage select tells the AI how far to go. Light is for a print with a few marks and mild fading, and it changes as little as possible. Moderate expects creases, several scratches and clear fading, and repairs every mark it finds. Heavy is for tears, missing corners and severe fading, and it reconstructs the lost areas from what survives around them. Leave it on Let the AI judge if you are unsure. The Color select is separate: Keep as is leaves a black-and-white print black-and-white, while Colorize if black & white adds inferred, era-plausible color to a monochrome or sepia print and, on a color print, restores the tones instead. The notes box is where you mention the thing that matters, such as a crease that runs across a face.
A few practical points. Upload the largest file you have, because a 300 dpi scan gives the AI far more to work with than a thumbnail. Results follow the shape of your upload, and they come back in seconds, at any hour. Where the damage is heavy and a face has to be rebuilt, treat that face as a plausible reconstruction and compare it against other photographs of the same person before you print it. After the result you can chain into another tool, enlarge it for reprinting, or send a single face through Face Restoration for a closer pass. Nothing is deleted from the print by this pass, so the man in the doorway stays in the doorway and the dog stays at the foot of the steps. If a mark you wanted gone is still there, the narrower repair tools are the next stop, and each starts from the result you have just made.
Credits per pass
| Tier | Credits | Good for |
|---|---|---|
| Standard | 4 | The print at screen size, quick repairs |
| Pro | 12 | More of the scan is sent, finer faces and texture |
| Max | 44 | The full scan, every readable detail kept for print |
What you can tell it
- Old photo
- DamageLet the AI judgeLightModerateHeavy
- ColorKeep as isColorize if black & white
- Anything to know? (optional)
- Result · Same ratio as the original
In the Studio
- Pass the result into any other tool without uploading again
- Standard, Pro and Max tiers, with the cost shown before you run
- Every restoration kept in your library beside its original
- Upscale to 32 MP for framing, or make a short moving version
About this tool
Often used next
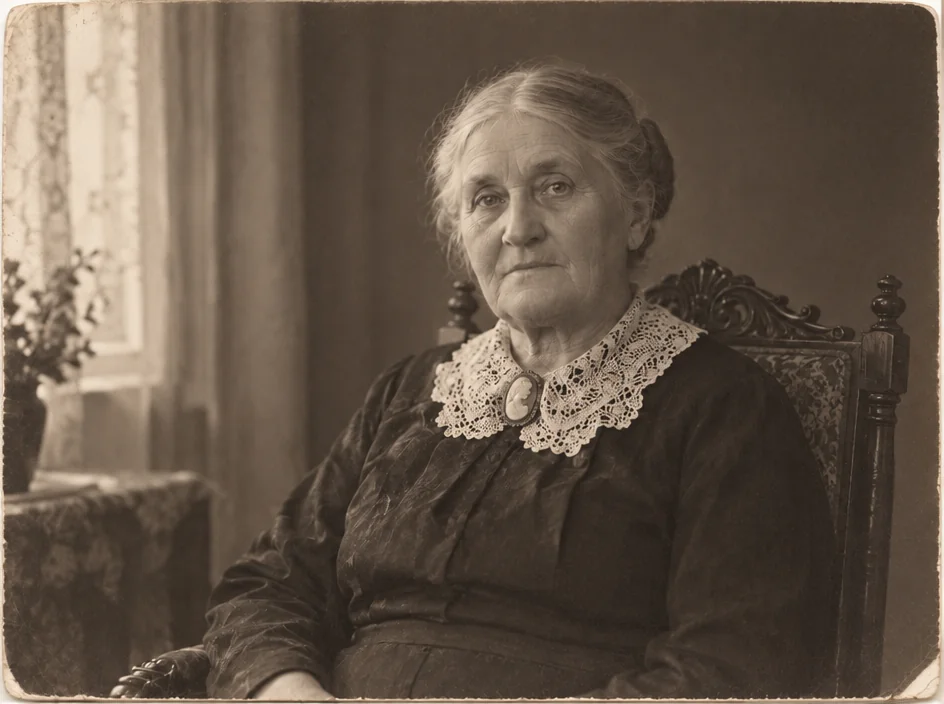
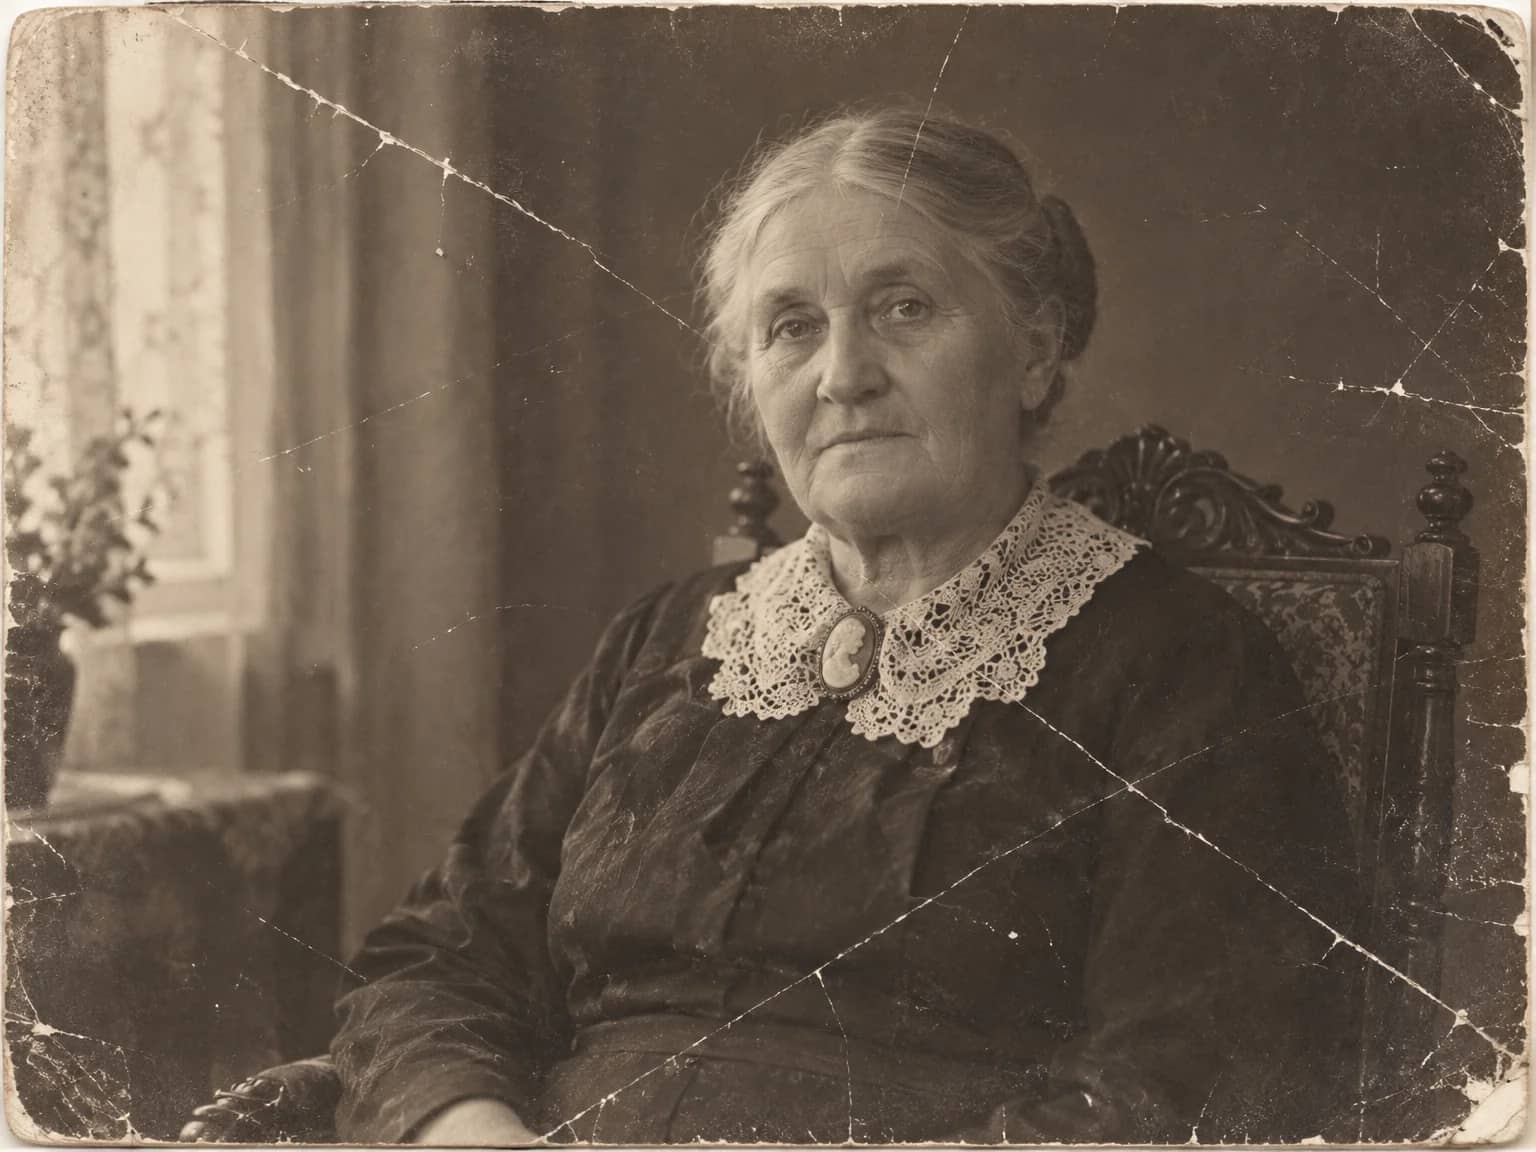
Scratch & Tear Repair
Close scratches, tears, creases and cracked emulsion without touching the rest
Face Restoration
Recover eyes, skin and hair in soft or tiny faces while keeping the person
Faded Photo Fixer
Bring back contrast and true color to a yellowed, pink-shifted or bleached print
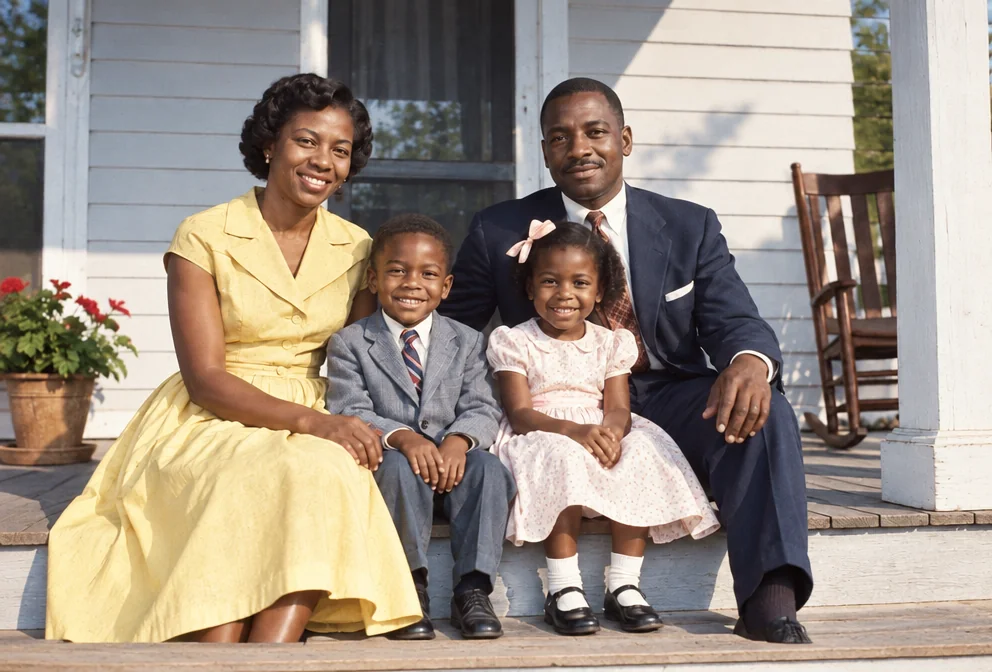
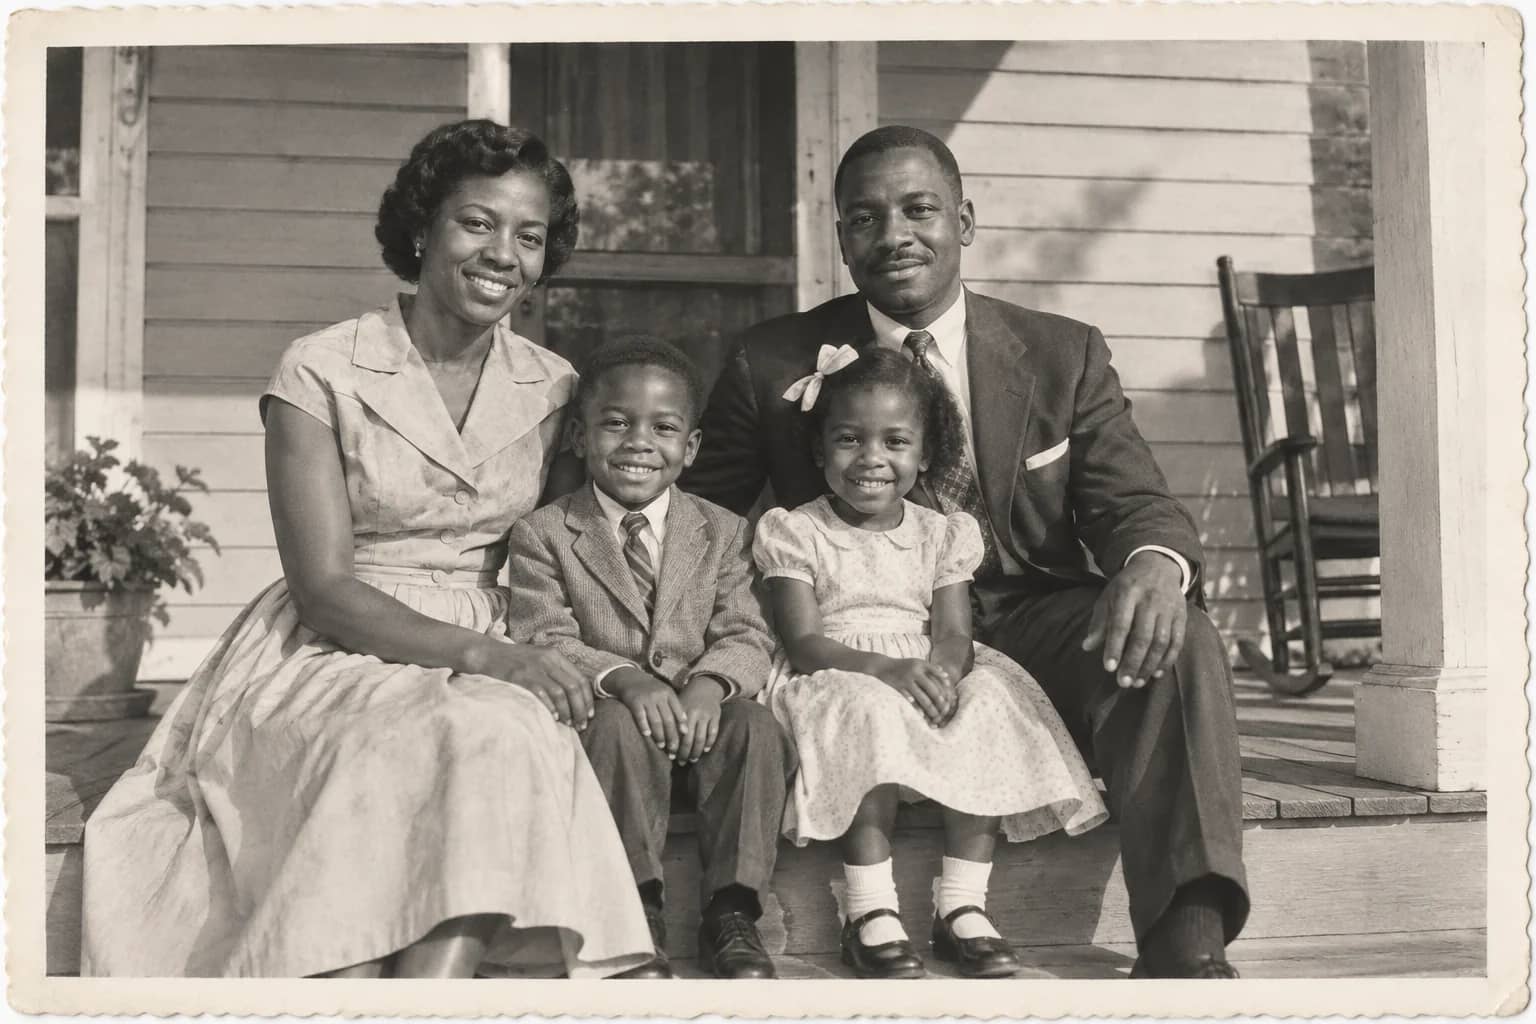
Photo Colorizer
Add plausible, era-matched color to a black-and-white or sepia photograph