Tone
Sepia to Black & White
Take the brown out of a sepia print and give it a full-range monochrome tone
4 free credits to start, enough for one Standard pass of this tool.
- 1Upload the sepia or brown-toned print
- 2Pick a neutral, warm or cool tone for the greys
- 3Download the black-and-white version
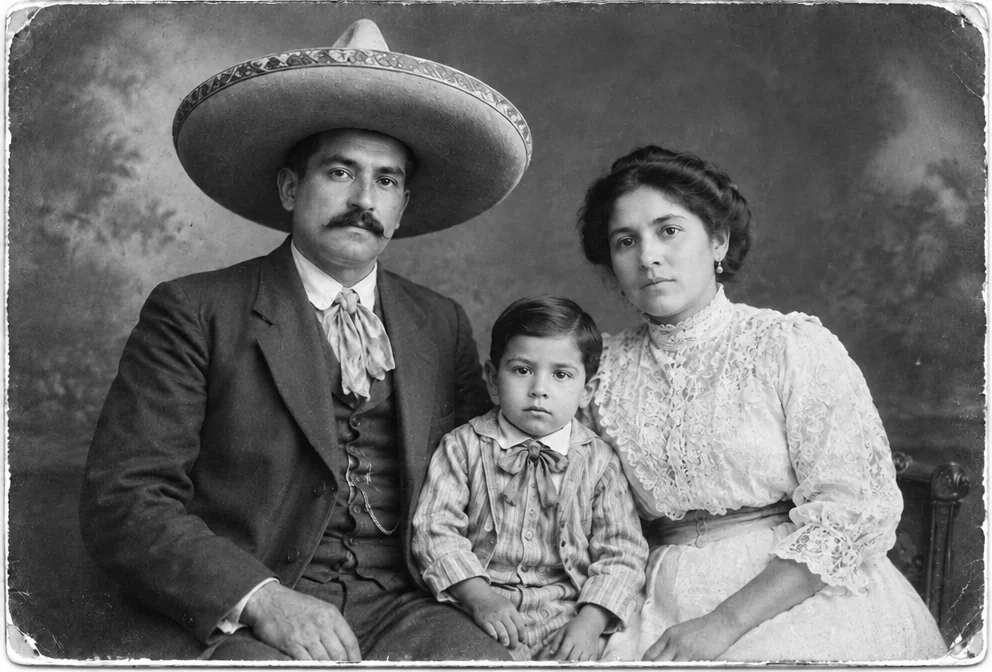
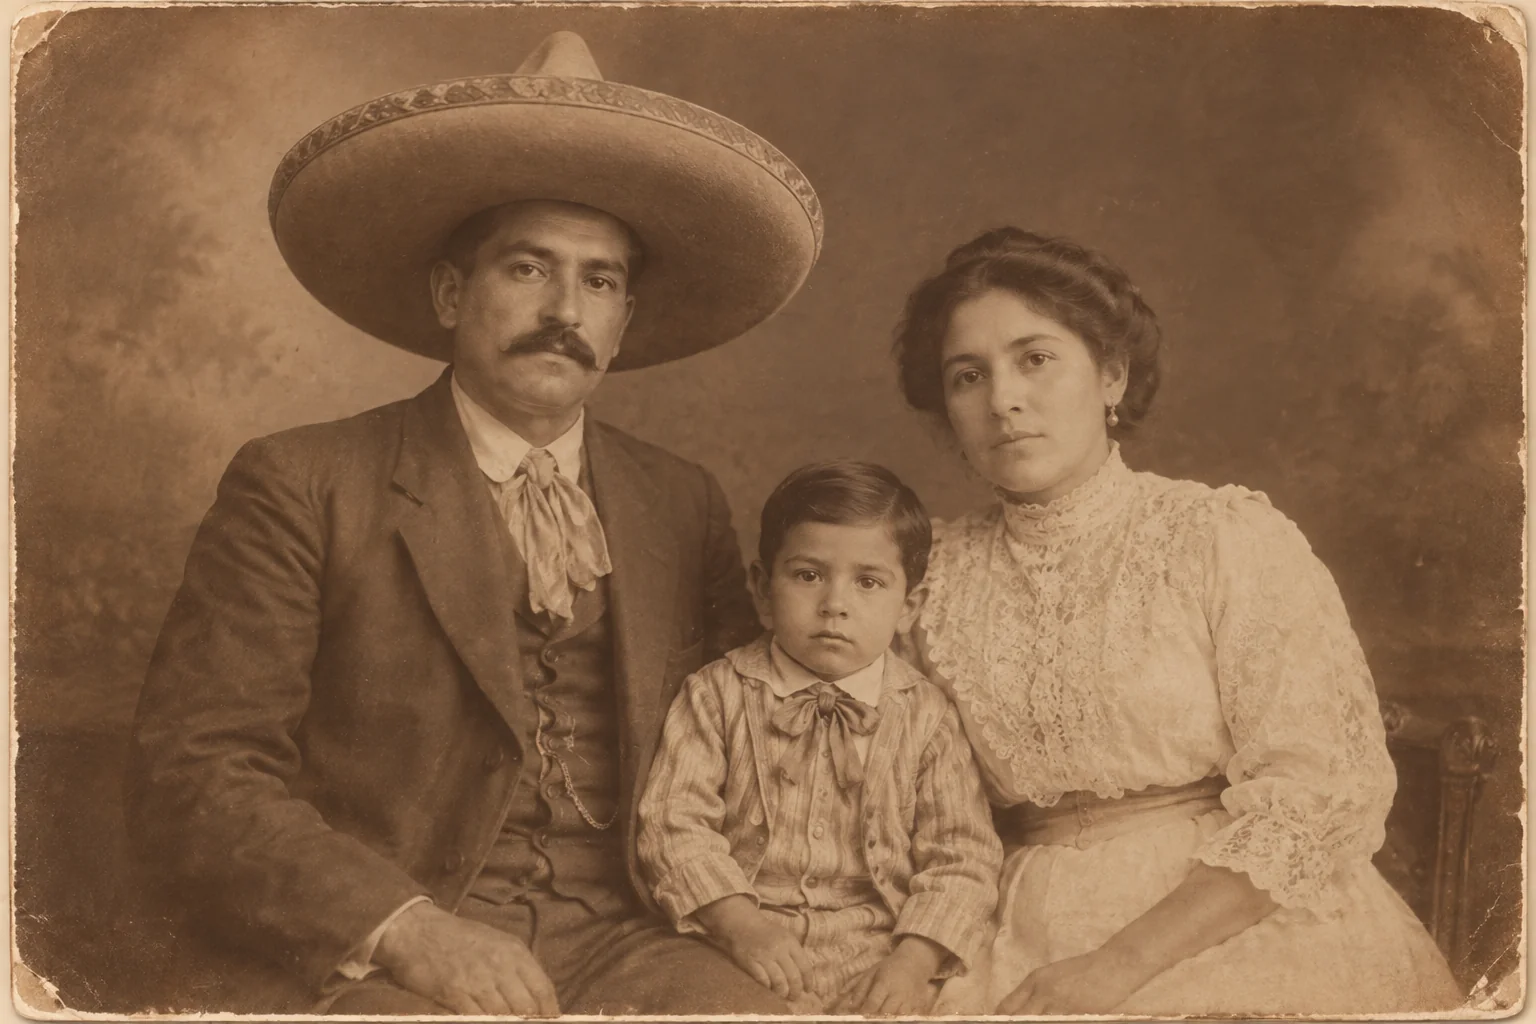
Restored by this tool from the original. Drag the handle to compare before and after.
Sepia is sometimes a choice and sometimes an accident. Studio portraits from the 1880s to the 1920s were often toned brown on purpose, because the toning made the silver image more stable and the warmth was fashionable. Later prints turned brown by themselves as the paper and the silver aged. Either way, a brown print flattens the tones: the blacks become dark brown, the whites go cream, and the range in between narrows. Sepia to Black & White converts the print to monochrome with the full range restored, clean whites and deep blacks, and every detail and the grain kept. The photograph looks the same; it simply stops being brown. Cabinet cards, cartes de visite and studio portraits are the usual candidates, along with any snapshot that has browned in an album.
The Tone select sets the character of the result. Neutral produces a true black-and-white with no color tint, the look of a well-made silver gelatin print. Warm keeps a hint of warmth in the greys, closer to the feel of the original without the heavy brown, and it suits portraits well. Cool tips the greys slightly blue, which reads as more modern and crisp and can suit architecture and street scenes. All three keep the same tonal detail; the difference is only the tint of the greys, and it is a matter of taste rather than of correctness. Where a set of prints from one studio is being converted for an album, choosing the same tone for all of them keeps the set looking like a set.
This tool changes tone only. Scratches, spots and fading in the print are left as they were, so if the print needs repair, do that first or use Photo Restoration for a combined pass. Results follow the shape of the upload and come back in seconds. If the print has a brown cast because it faded rather than because it was toned, the Faded Photo Fixer's Sepia brown setting is the more careful match, since it also recovers color where there was any. Where a print carries a studio imprint or a handwritten name on the mount, the conversion keeps it legible; only the tint changes. A restored black-and-white version also colorizes better than a brown one, if that is a step you are considering afterwards.
Credits per pass
| Tier | Credits | Good for |
|---|---|---|
| Standard | 4 | The print at screen size, quick repairs |
| Pro | 12 | More of the scan is sent, finer faces and texture |
| Max | 44 | The full scan, every readable detail kept for print |
What you can tell it
- Sepia print
- ToneNeutralWarmCool
- Result · Same ratio as the original
In the Studio
- Pass the result into any other tool without uploading again
- Standard, Pro and Max tiers, with the cost shown before you run
- Every restoration kept in your library beside its original
- Upscale to 32 MP for framing, or make a short moving version
About this tool
Often used next
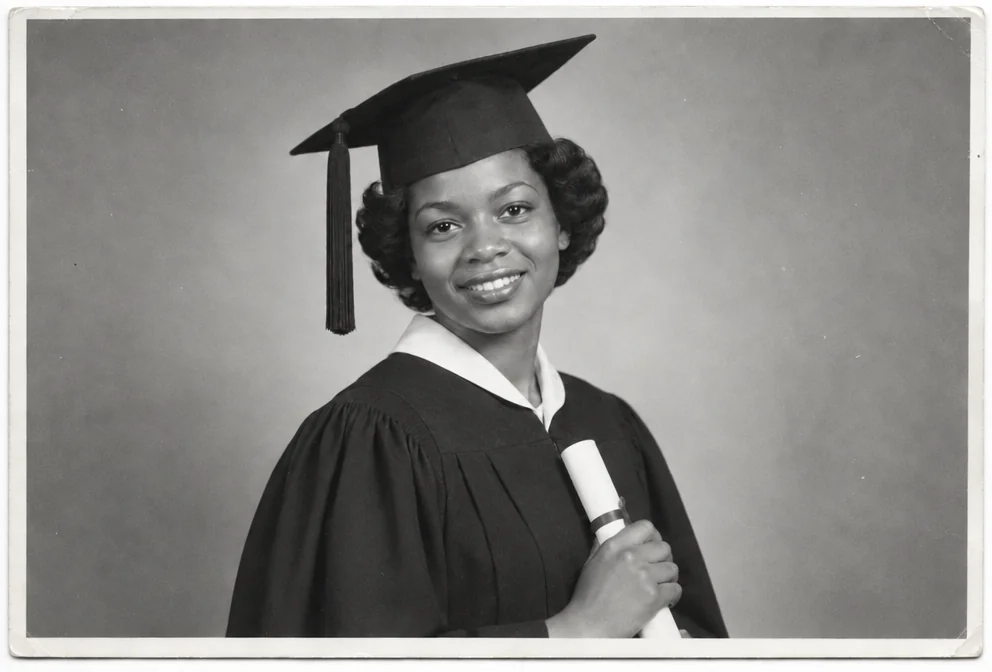
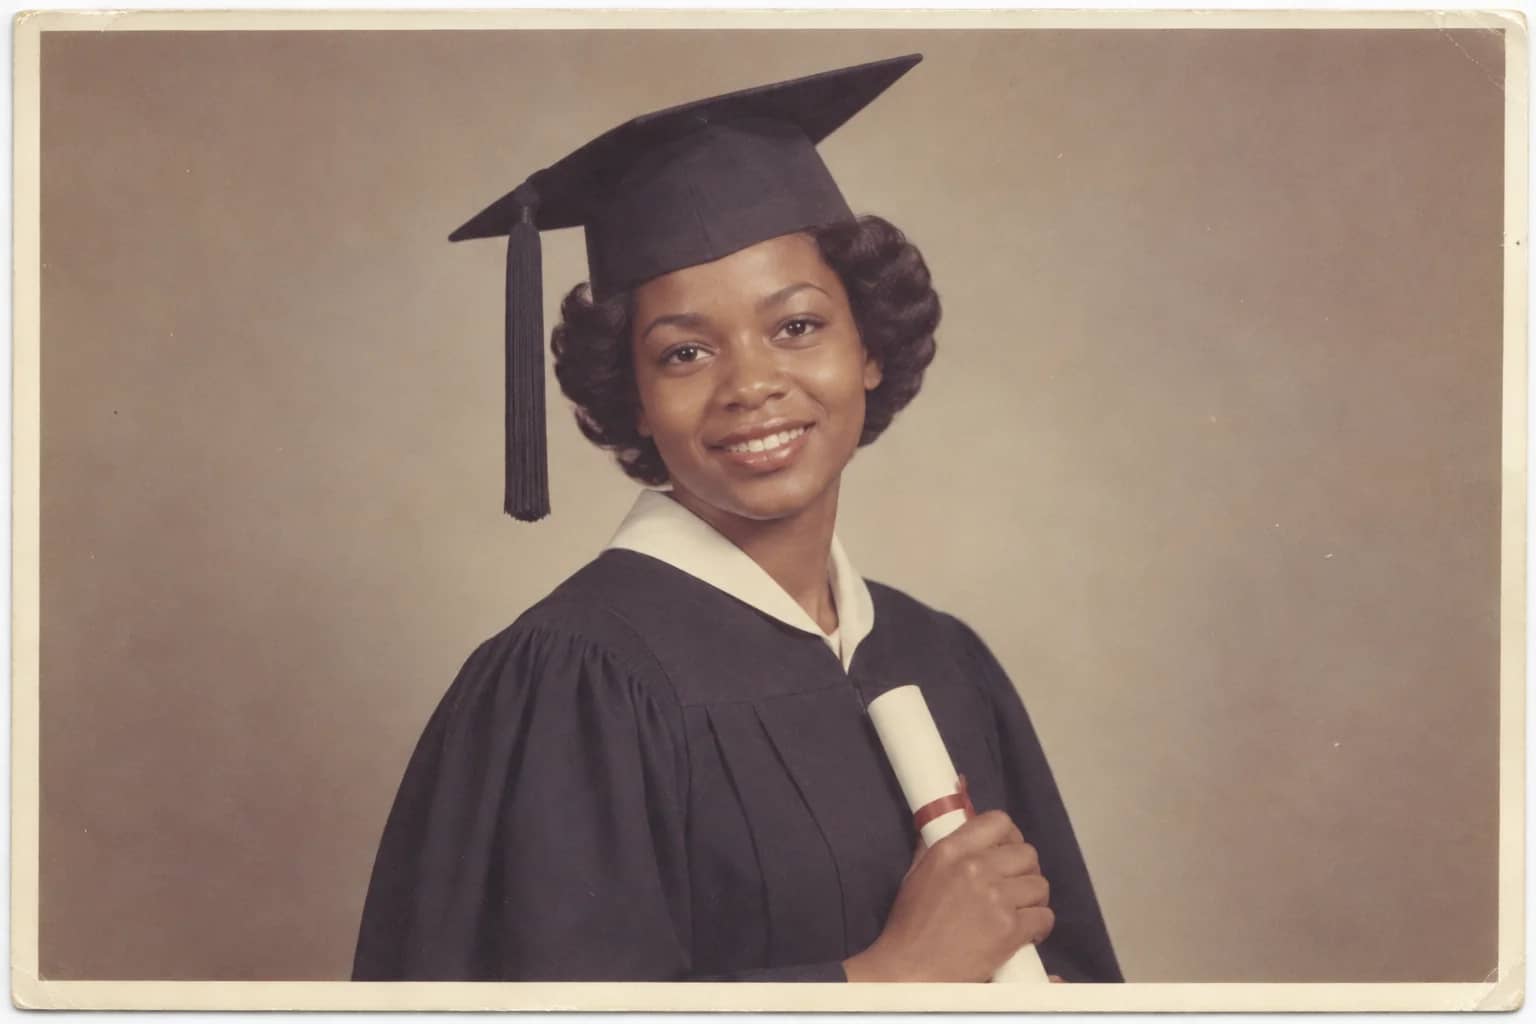
Black & White Converter
Turn a color photo into a considered black-and-white print, not a grey wash
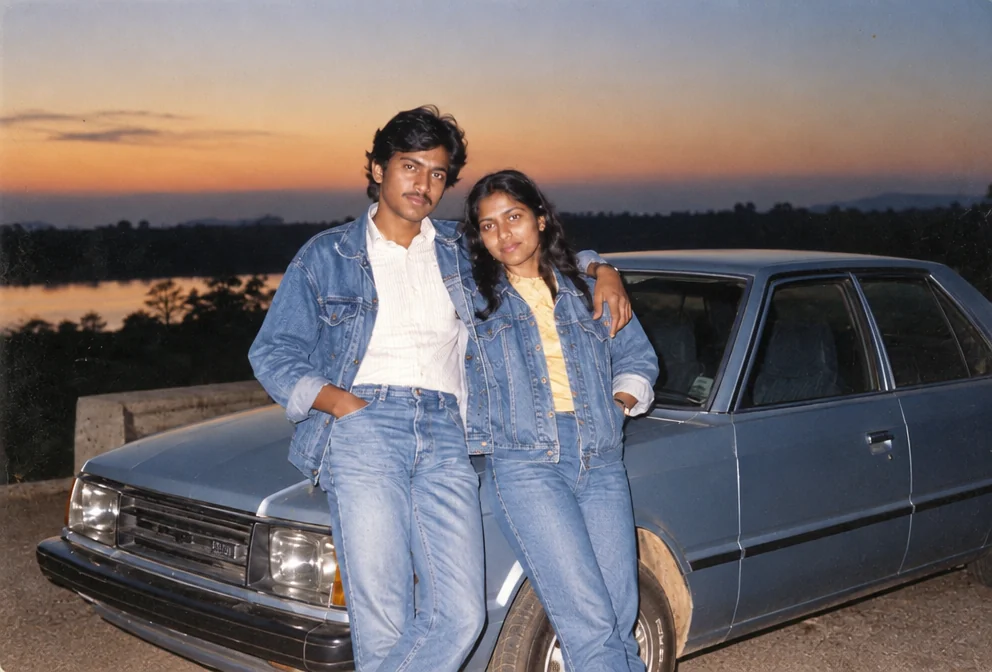
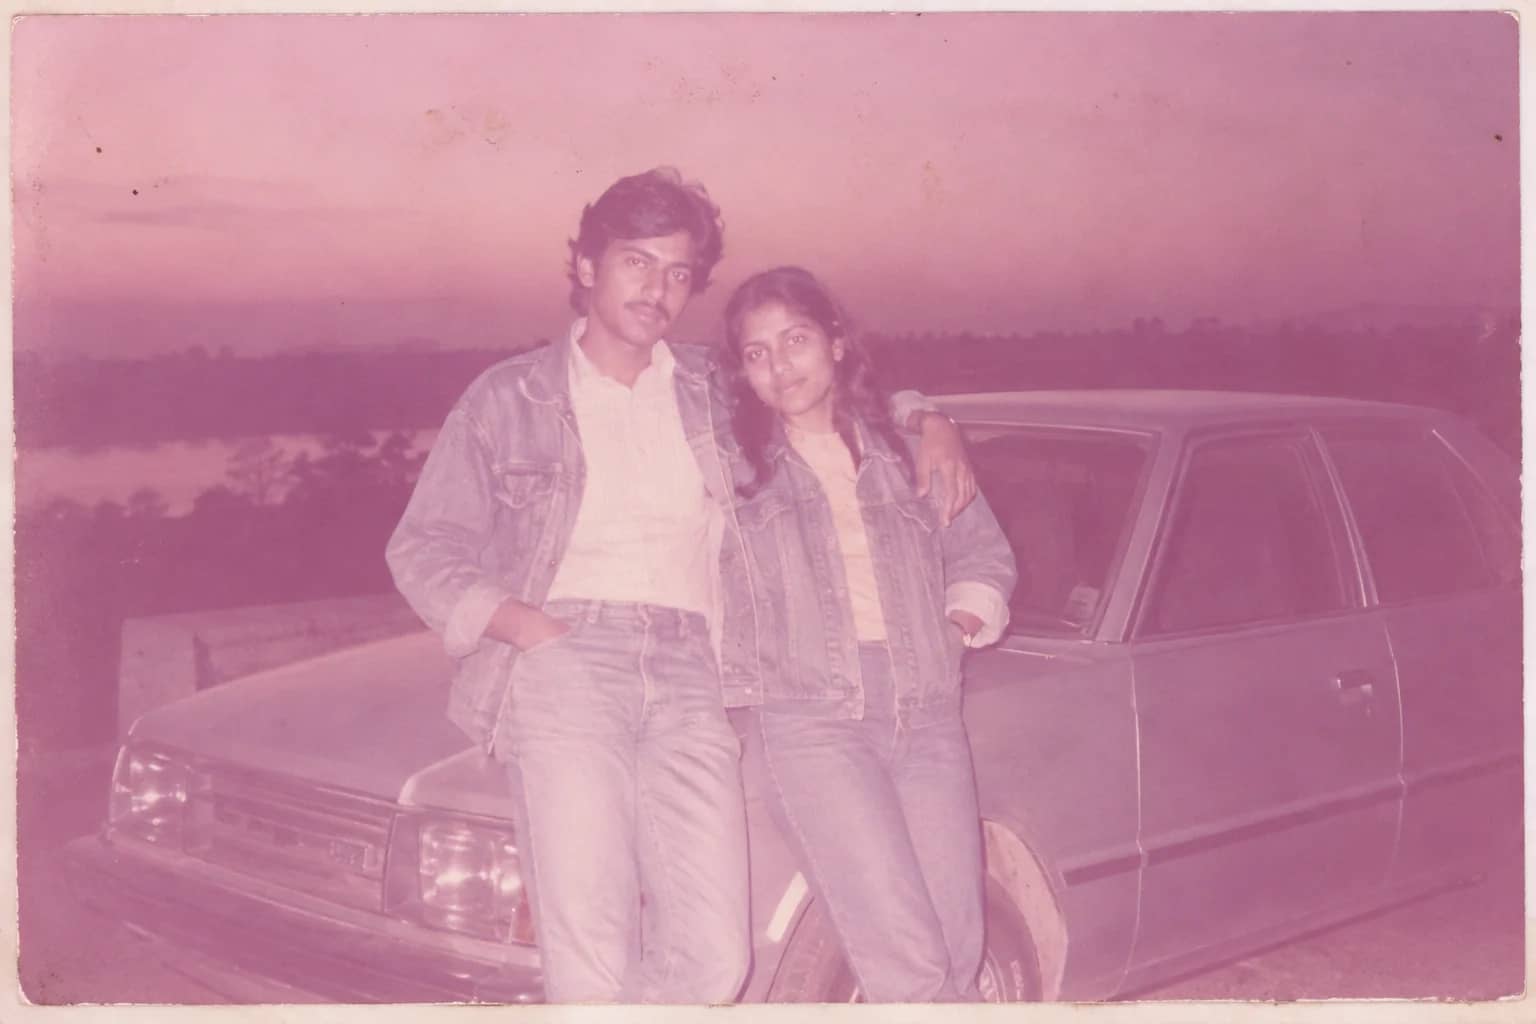
Faded Photo Fixer
Bring back contrast and true color to a yellowed, pink-shifted or bleached print
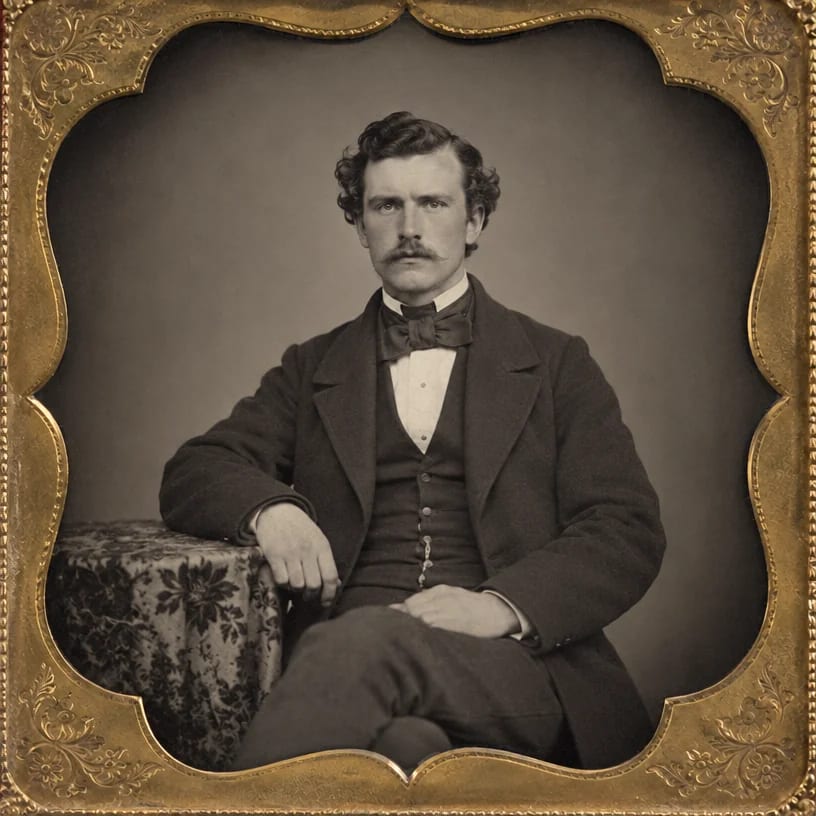
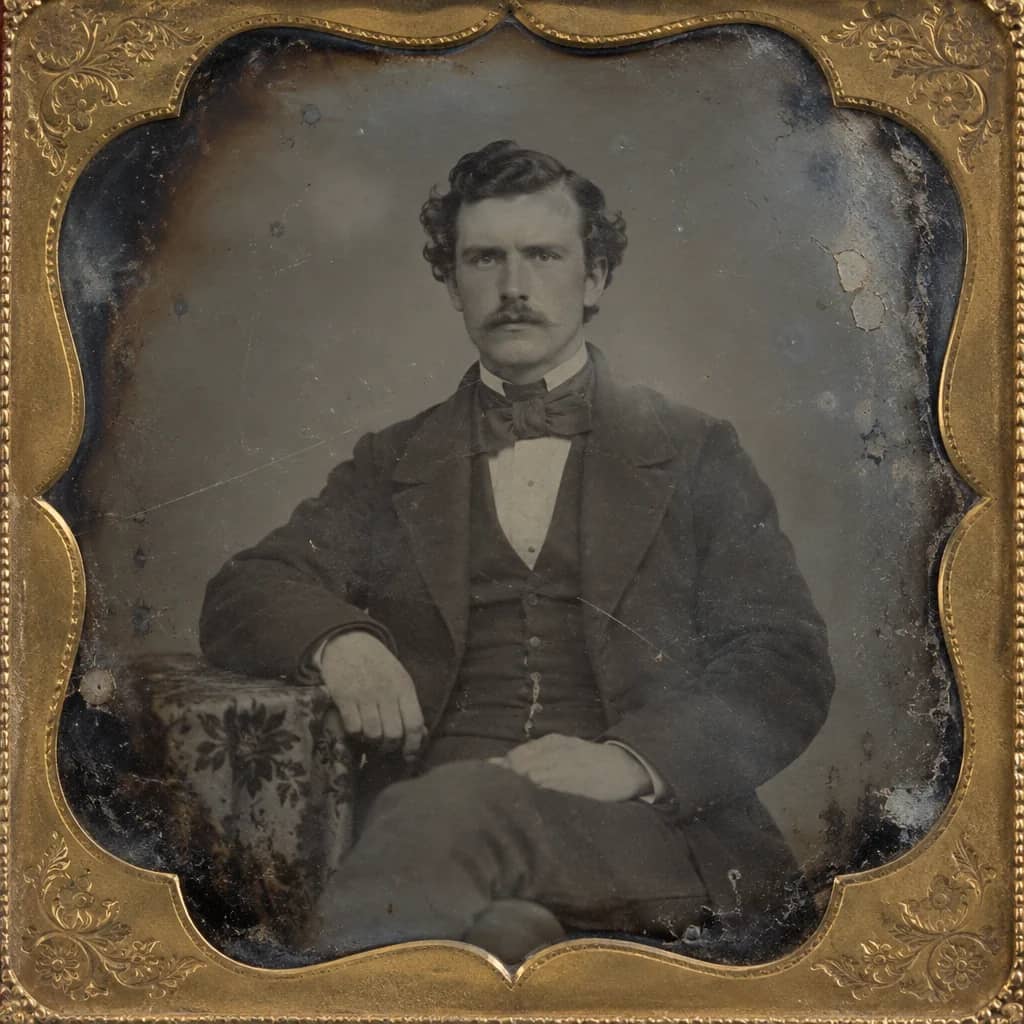
Tintype & Daguerreotype Restoration
Clear tarnish, silvering and glass cracks from a nineteenth-century plate
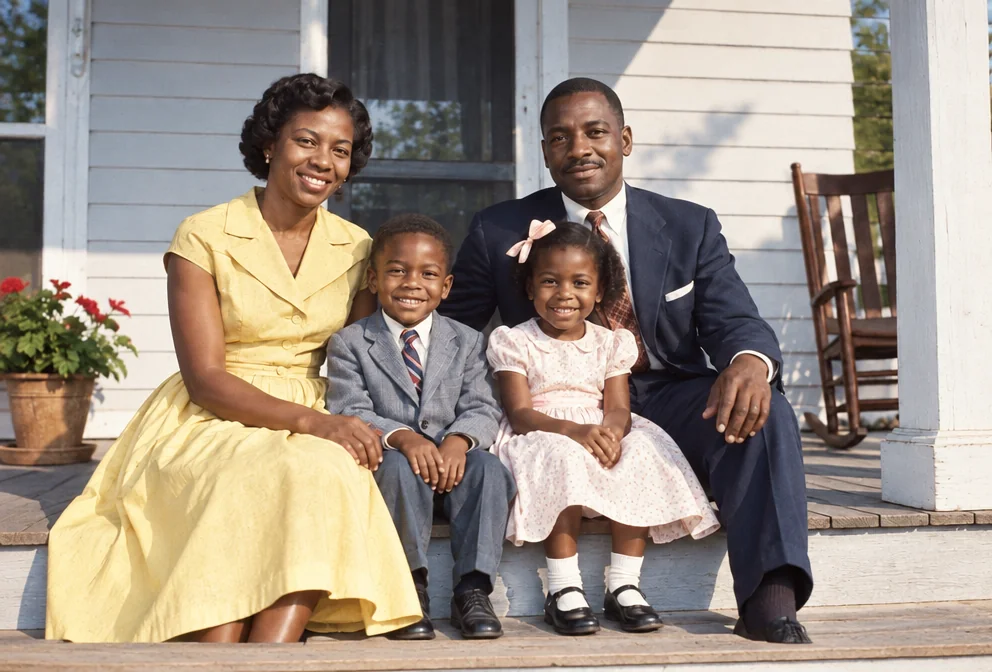
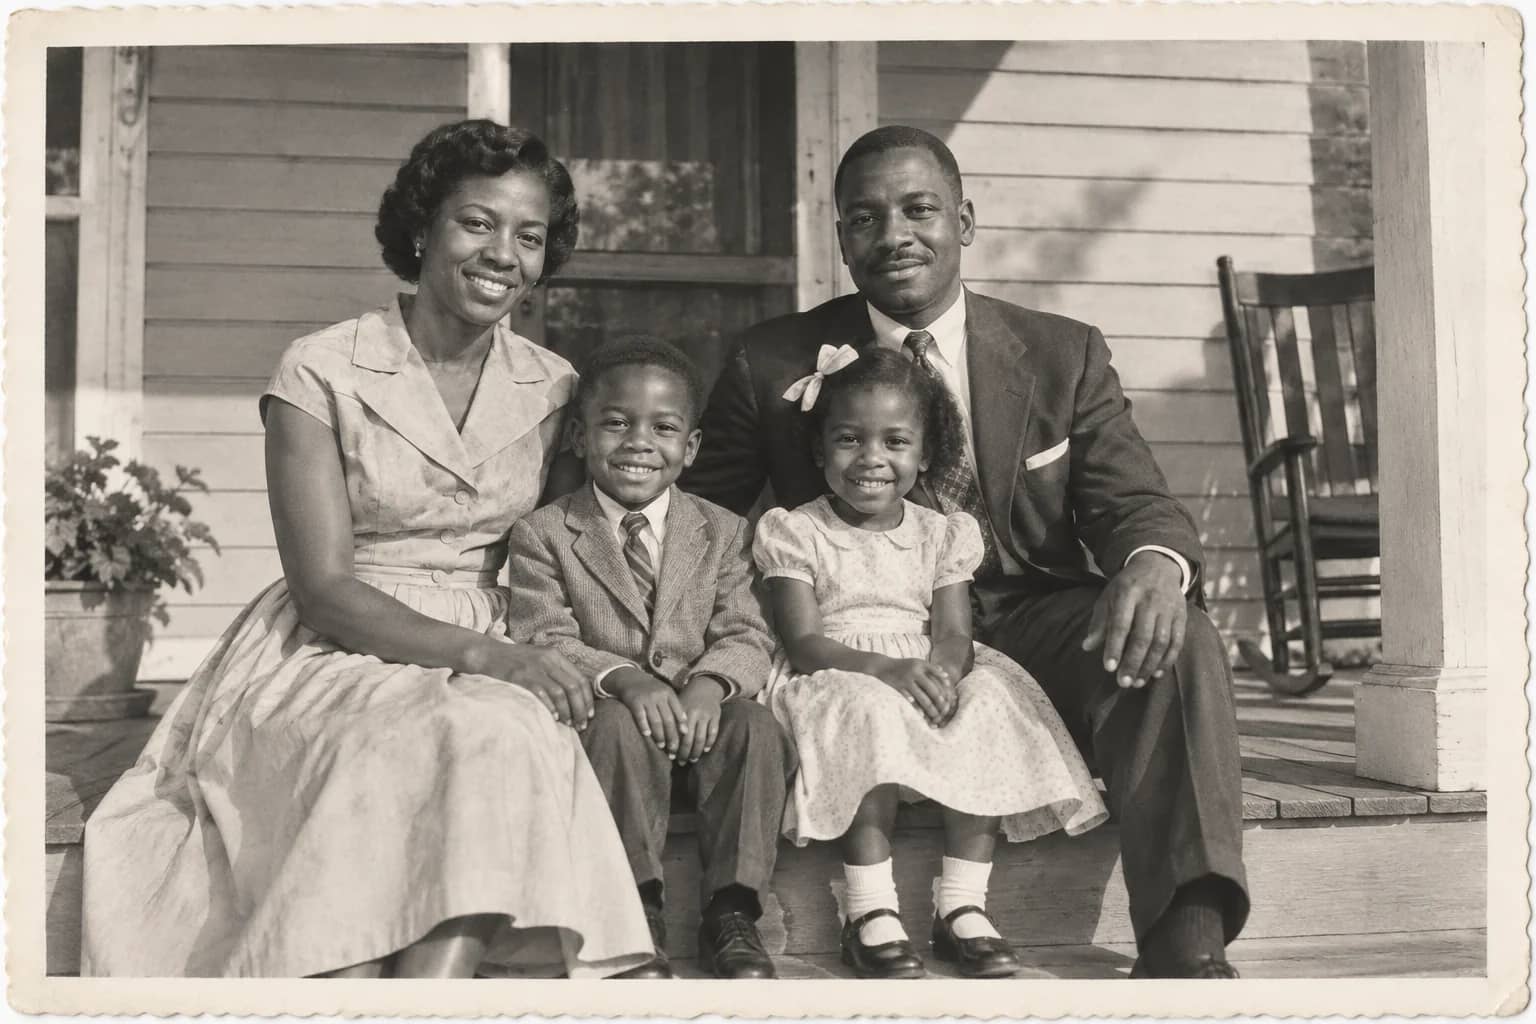
Photo Colorizer
Add plausible, era-matched color to a black-and-white or sepia photograph