Utilities
Describe the Repair
Say in plain words what needs fixing and let the AI carry it out
4 free credits to start, enough for one Standard pass of this tool.
- 1Upload the photo
- 2Write what should change, where, and what should be left alone
- 3Download the result or refine it with a second instruction
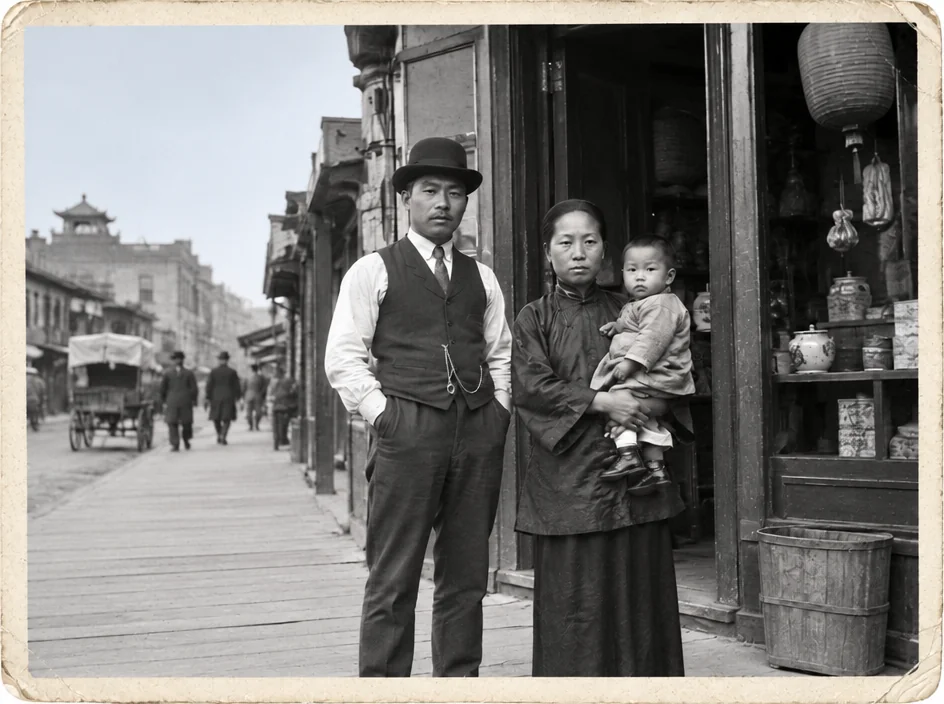
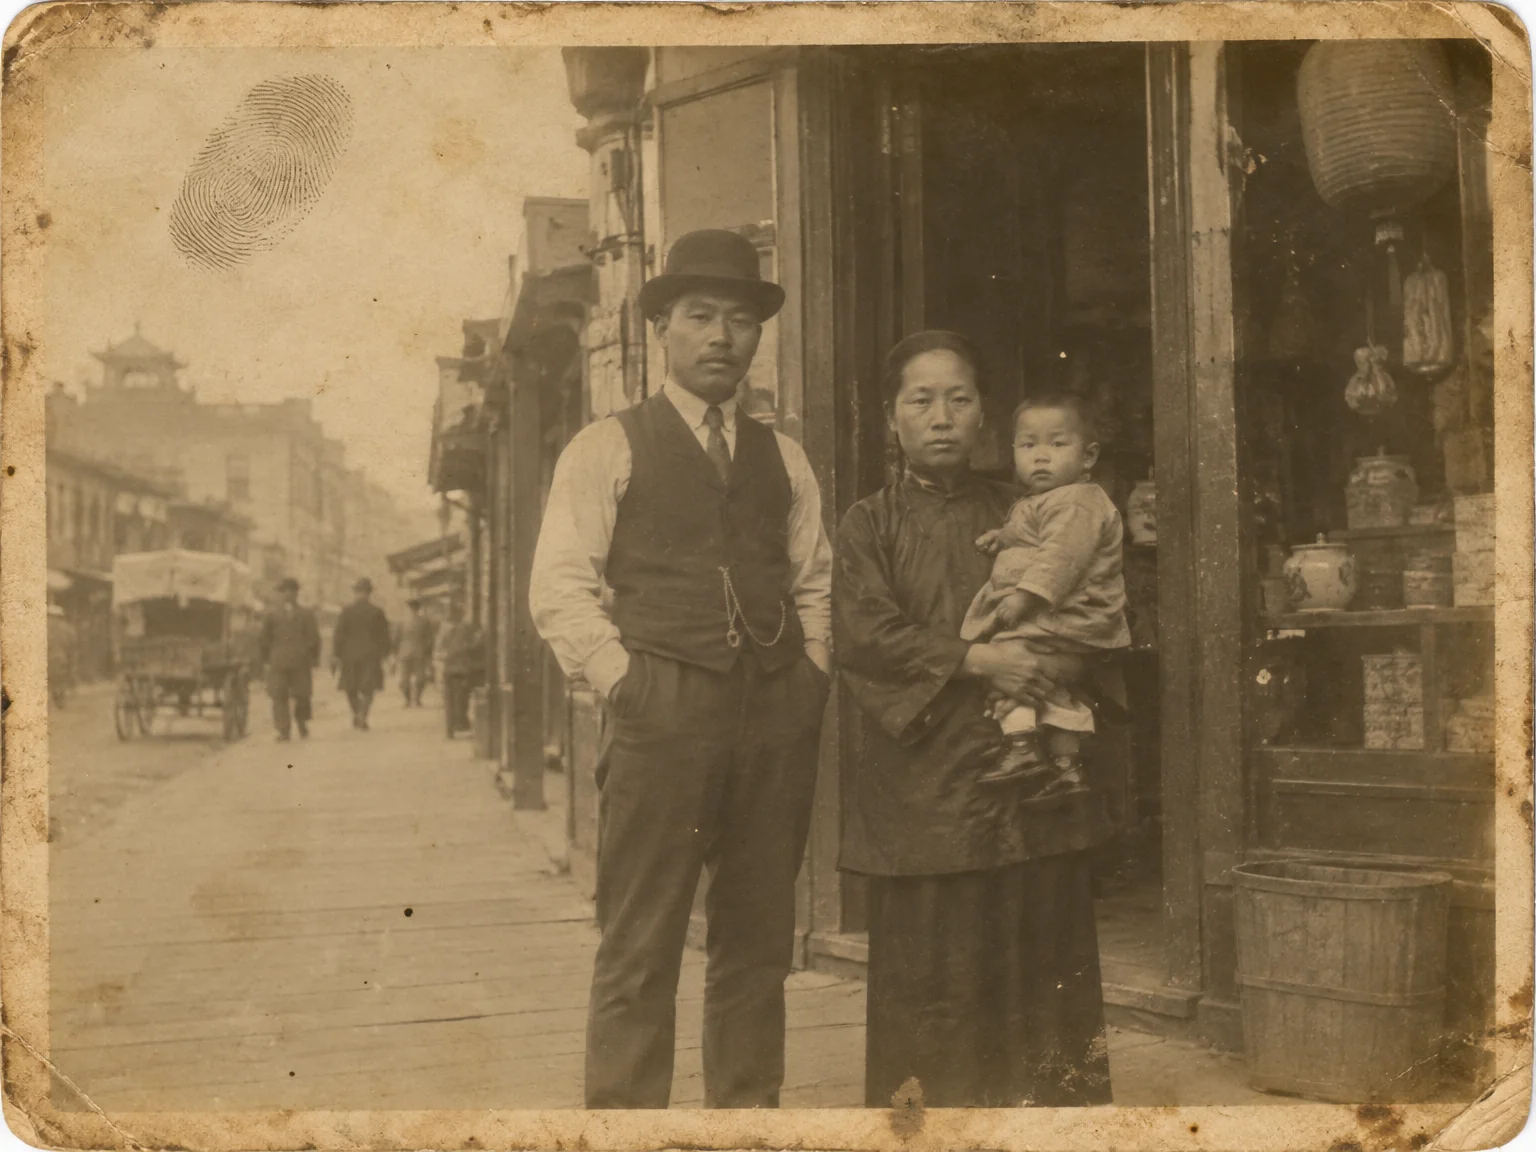
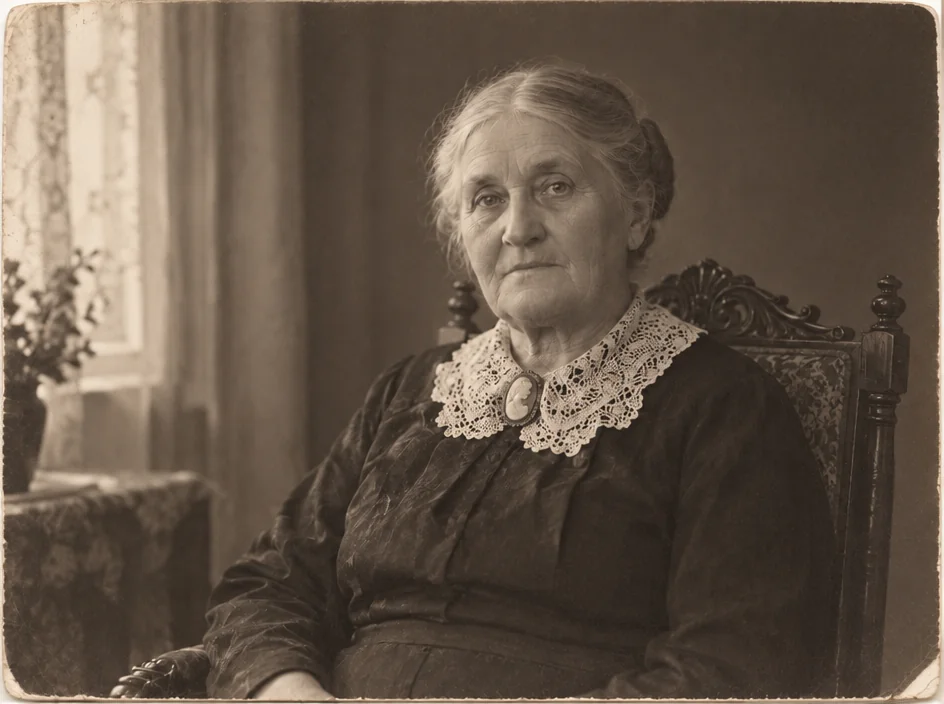
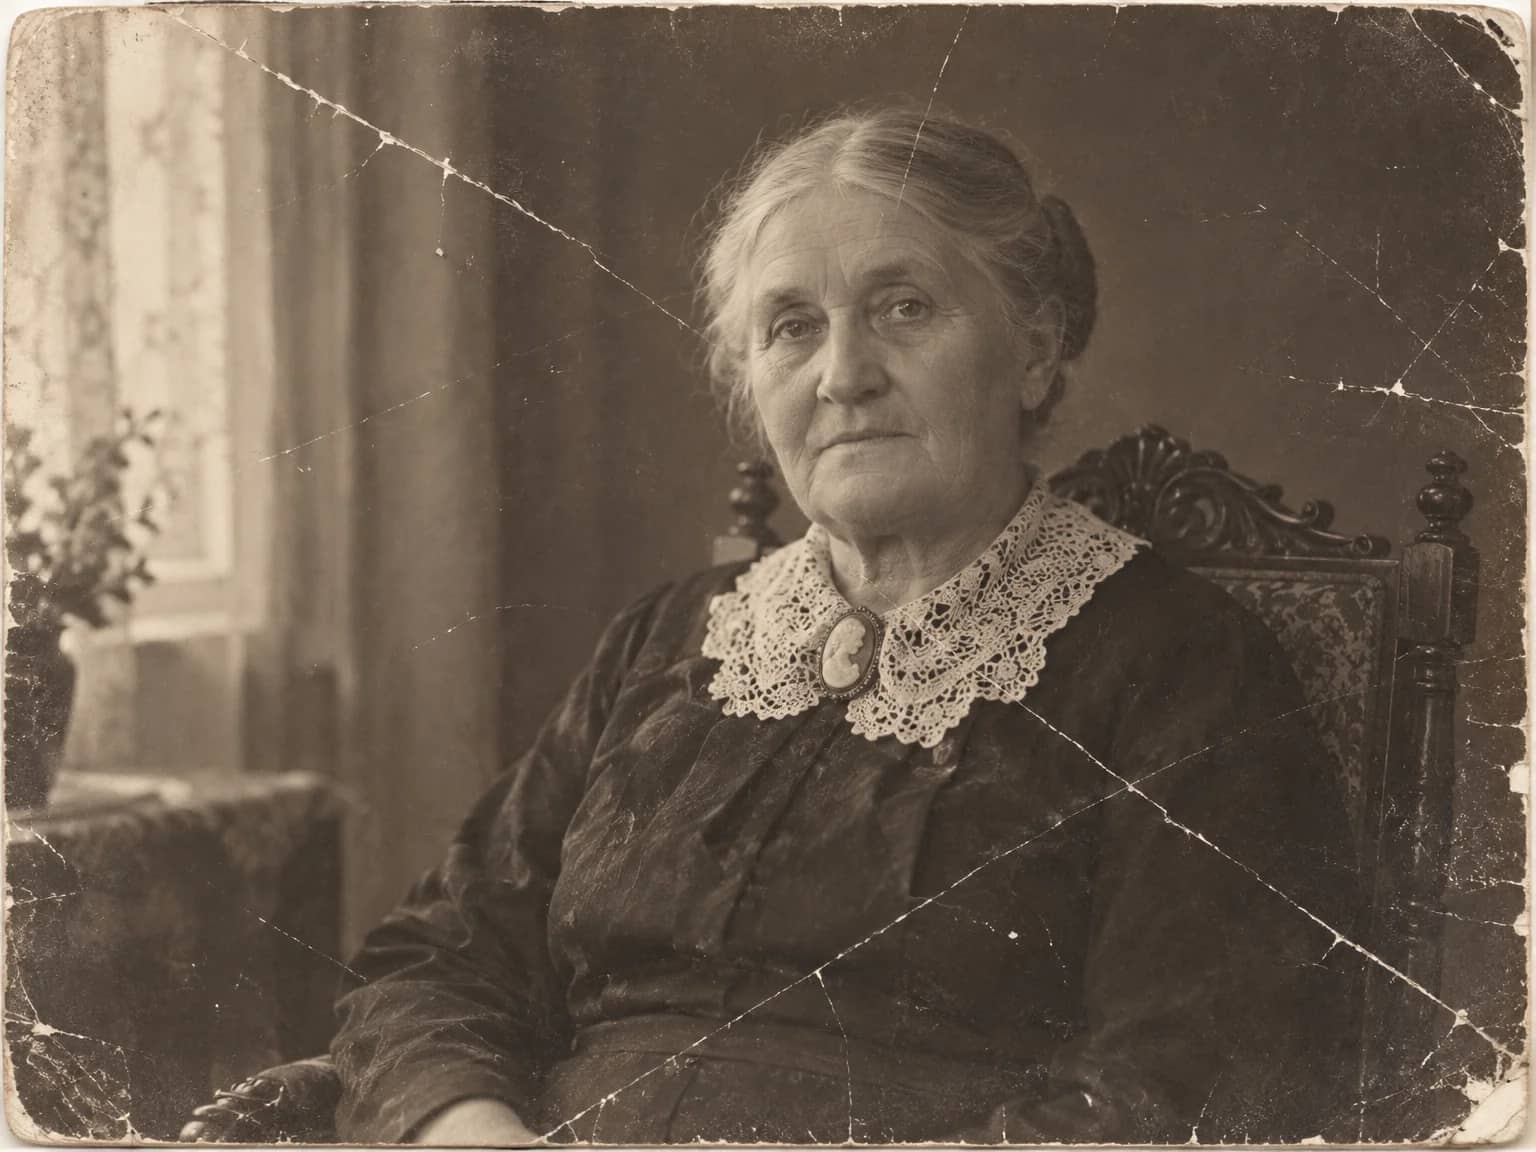
Restored by this tool from the original. Drag the handle to compare before and after.
The other tools on this site each do one job with a small set of choices. Describe the Repair is the open-ended one. You write what should change, in plain language, and the AI carries it out on the photograph: close the tear across the sky and remove the thumbprint, brighten only the child's face, give the print a gentle sepia tone, take the reflection off grandad's glasses, crop to the three people on the left. It is the tool for the case that does not fit a category, for a combination of small fixes you would rather describe once than run as four separate passes, and for the repair you can see clearly but cannot name.
Good instructions are specific about what and where, and say what should be left alone. The tear across the sky in the top left, not the crease, is better than fix the damage. Remove the cigarette from his left hand and keep everything else as it is tells the AI both the change and the limit. Instructions can be long; the box accepts a couple of paragraphs. Because there are no preset guardrails for identity here beyond what you write, it is worth adding a line such as keep everyone's face as it is whenever people are in the frame, and the AI will respect it. Requests that would change who someone is, such as making a person smile or look younger, are not restoration and are better left unasked; the tool will attempt them, but the result is no longer the photograph.
This tool is the escape hatch, not the starting point. If a print needs the usual repair, the Photo Restoration and repair tools carry instructions that have been written and tested for that job, and they should be tried first. Come here when you want something they do not offer, or to make one more precise change to a result you have already restored, which the Studio lets you do in sequence. Results follow the shape of the upload unless you ask for a crop, and they come back in seconds. Each instruction is a fresh pass over whatever image is loaded, so a second instruction on a result builds on the first, and the original upload stays as it was for as long as you want to return to it.
Credits per pass
| Tier | Credits | Good for |
|---|---|---|
| Standard | 4 | The print at screen size, quick repairs |
| Pro | 12 | More of the scan is sent, finer faces and texture |
| Max | 44 | The full scan, every readable detail kept for print |
What you can tell it
- Photo to repair
- What should change?
- Result · Same ratio as the original
In the Studio
- Pass the result into any other tool without uploading again
- Standard, Pro and Max tiers, with the cost shown before you run
- Every restoration kept in your library beside its original
- Upscale to 32 MP for framing, or make a short moving version
About this tool
Often used next
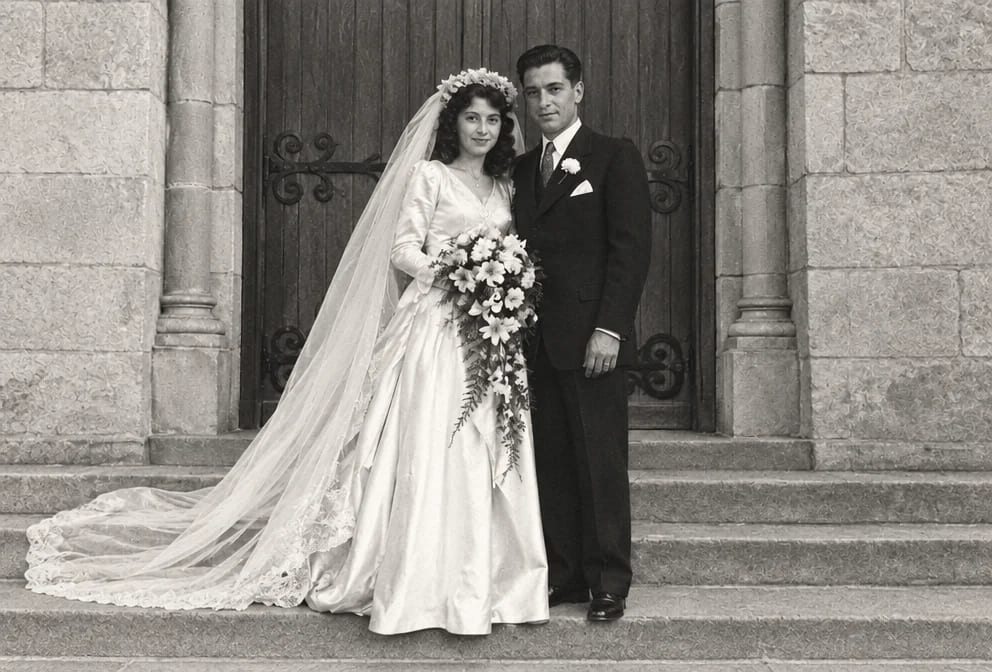
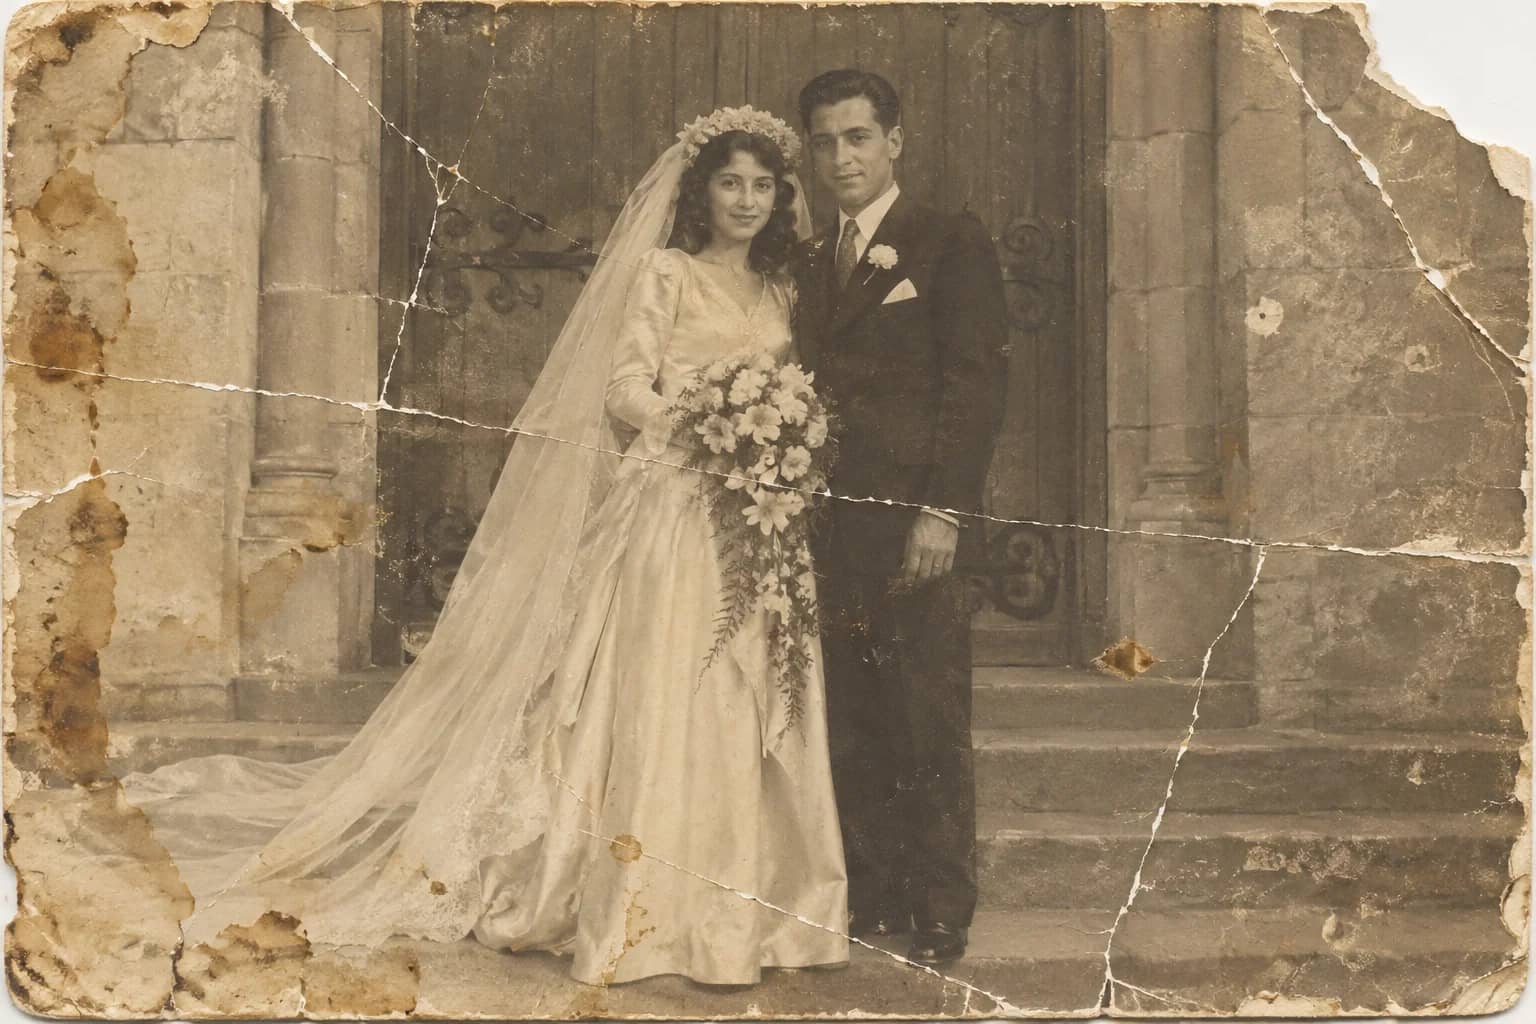
Photo Restoration
One pass that repairs damage, lifts fading and sharpens faces in an old photo
Remove Objects
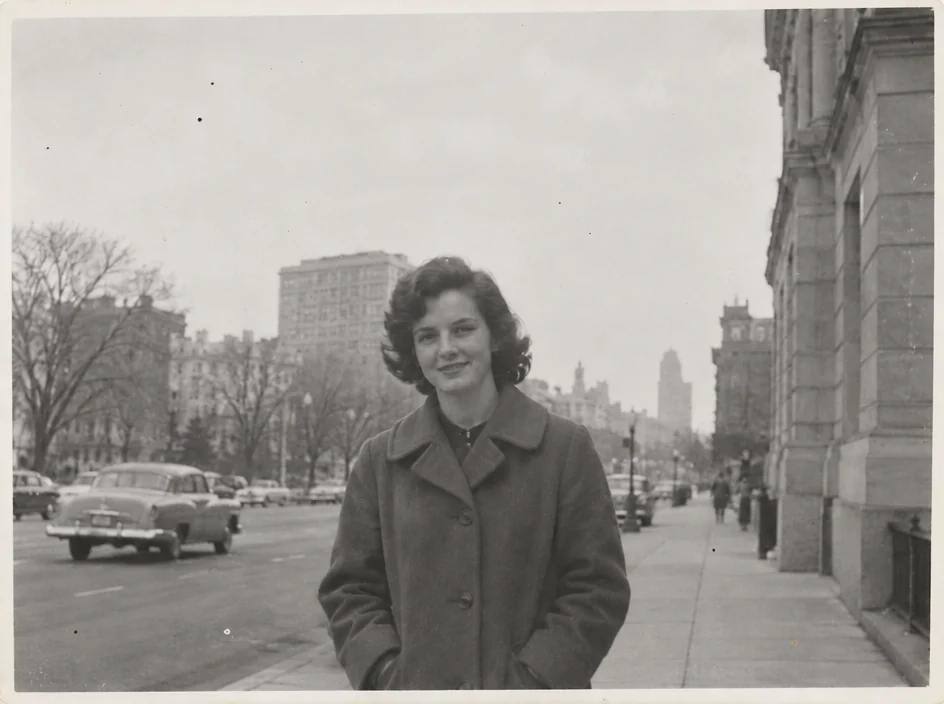
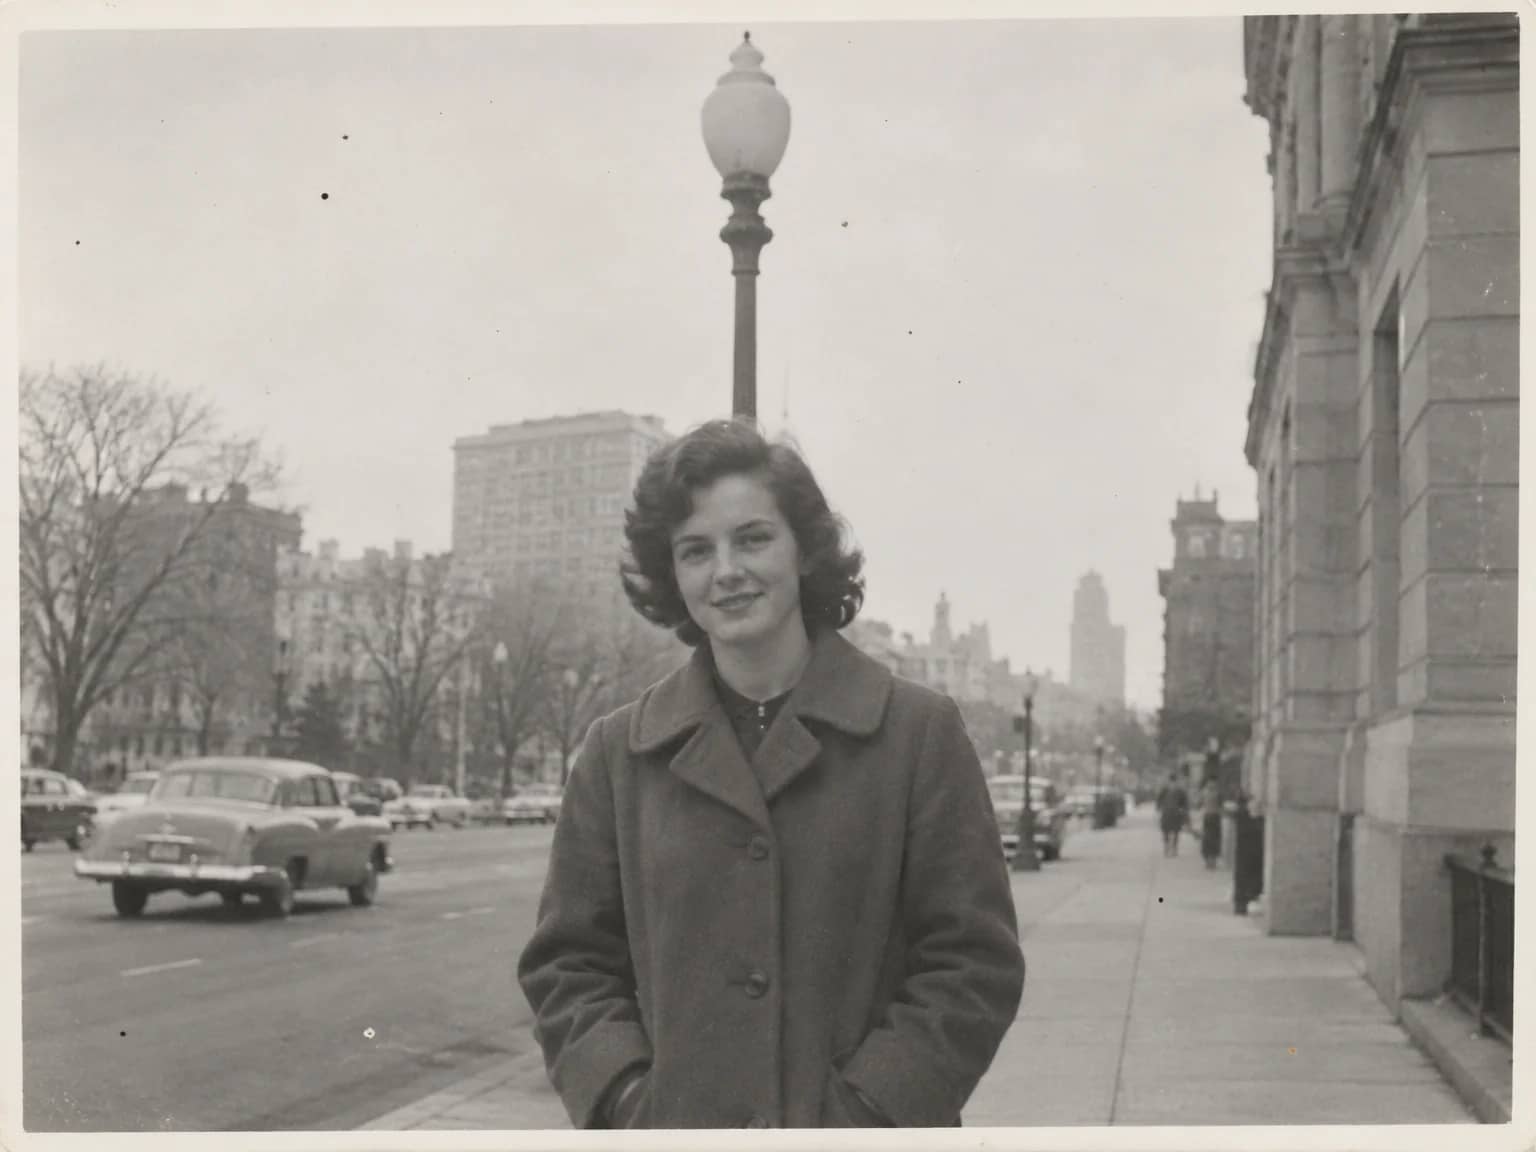
Remove the lamp post, the car, the clutter, and keep every person in place
Missing Parts Filler
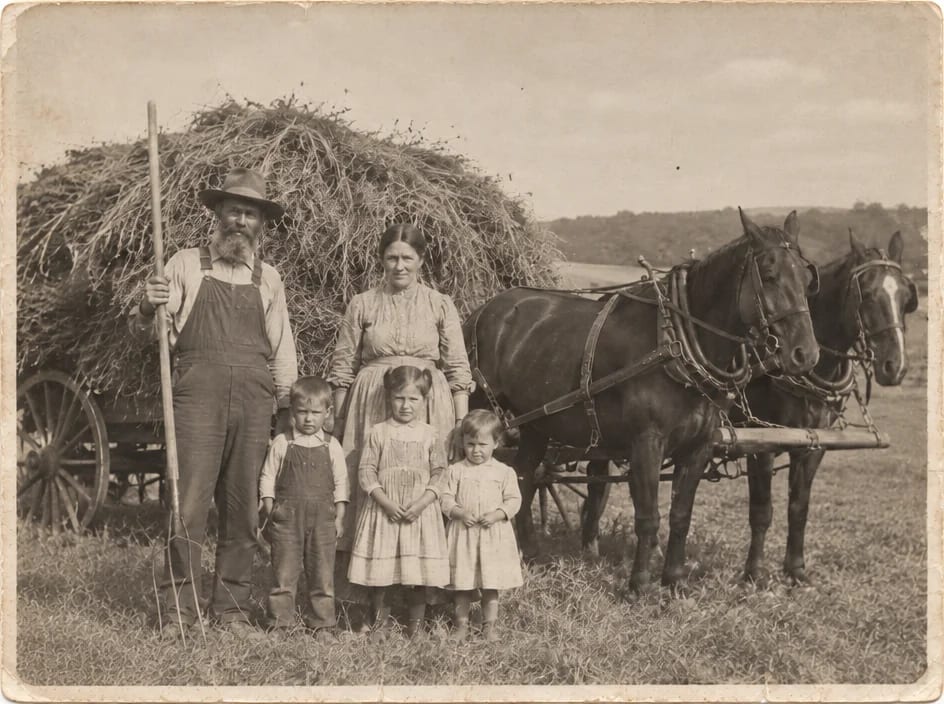
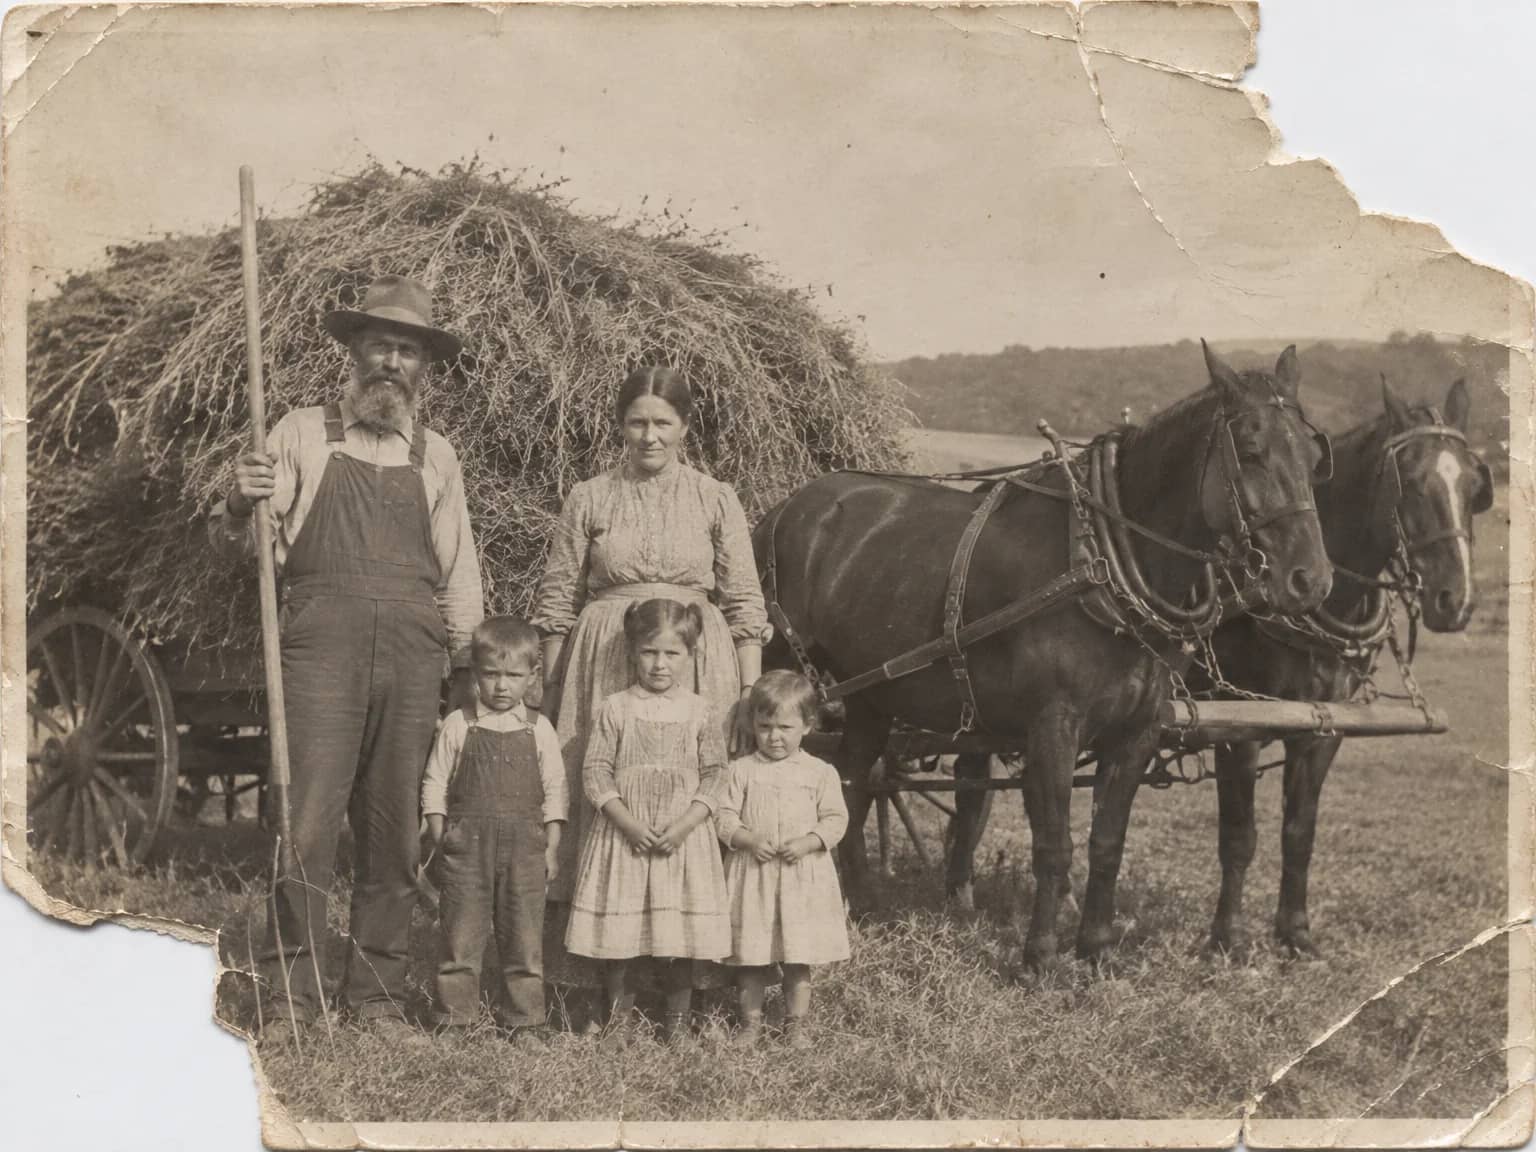
Rebuild a torn-off corner or a lost edge by continuing the surviving scene
Scratch & Tear Repair
Close scratches, tears, creases and cracked emulsion without touching the rest